JMR:
Battle Report: Chaos Dwarves vs. Dwarves
2500 points
Me and my opponent both have been in the hobby for around a decade, and this is the first time we play with two “fully” painted armies. This means that my list was pretty much determined by what I had painted, and not necessarily what I prefer to field.
Either way, it was great to see finally see two (mostly) painted armies on the table.
This is the first time I do a battle report with photo’s, so please bear with me. Here we go!
We rolled off for the scenario and got Dawn Attack. I had to deploy my army first.
Rolling off to see on which part of the table units had to be deployed, I got most of my army in the center, with a few units on the right flank. My opponent was less fortunate (you’ll find out that this is a returning trend for this battle!).
Chaos Dwarf Deployment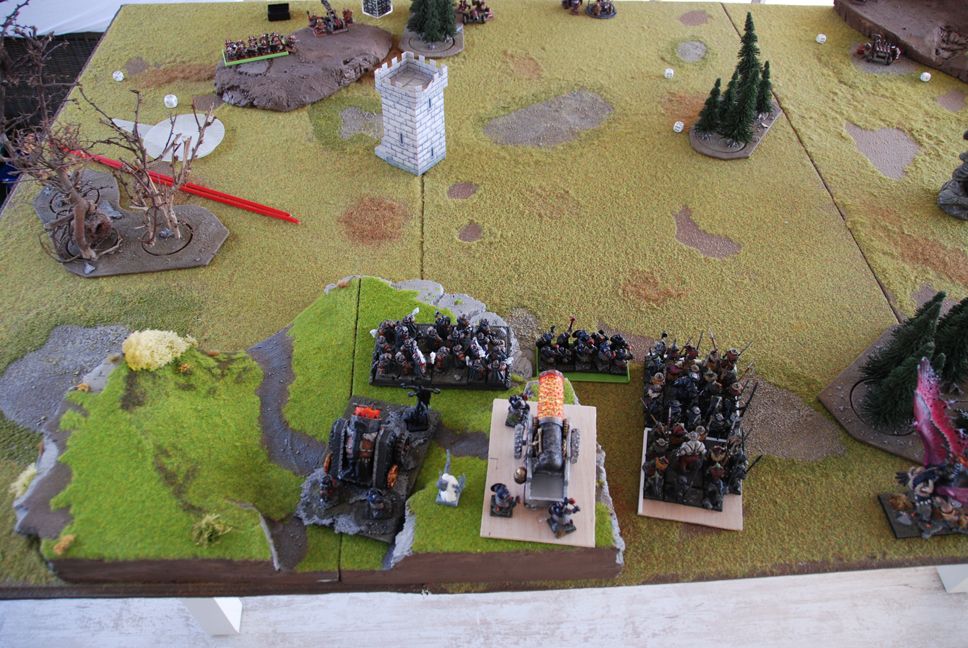
On my right flank I deployed 2 Doomcannons. Both are upgraded to allow them rerolls on the Scatter dice (Diabolic Sentience). The left one also has the Infernal Shells upgrade, which works much like the old, old Earthshaker effect. The one on the right has the Warpfire upgrade which forces panic tests with a -1LD penalty on anything it wounds with it’s shots.
In between them is my Daemonsmith (Level 2 metal). He got Seering Doom and Glittering Robe for spells.
In front of the artillery is a unit of 28 Chaos Dwarf Warriors with great weapons, 10 Immortals and a big unit of Hobgoblins with spears.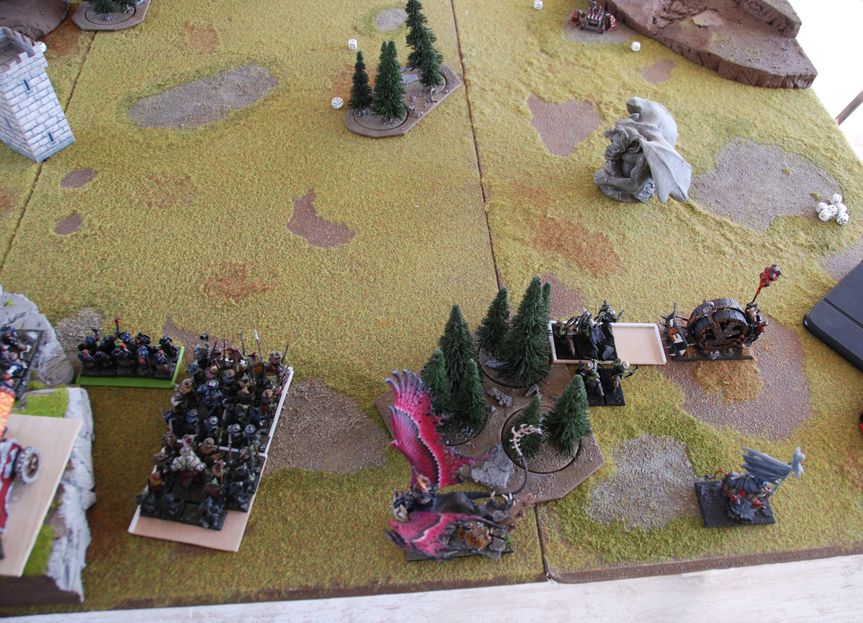
Behind the forest is my Overlord on a level 3 Lammasu with the lore of Death. (Spirit Leech, Caress of Laniph, Soulblight). The right flank is completed with 5 Wolf Riders with bows, my Doom Harness and a Bull Centaur Elder BSB.
The Gargoyle was used as a Bane Stone, but we both completly forgot about it.
Dwarves Deployment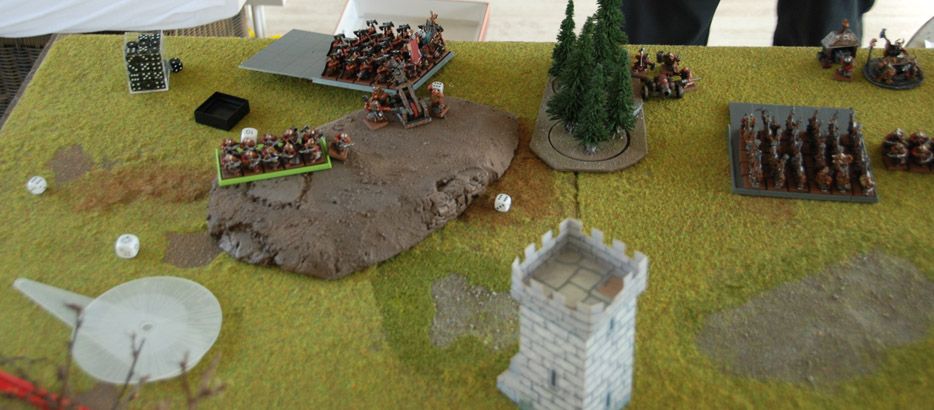
My opponent was less fortunate with deployment and was forced to deploy as follows.
On his right flank (my left) he has 11 Quarellers, 30ish GW Dwarfs with a Thane BSB and a Grudge Thrower.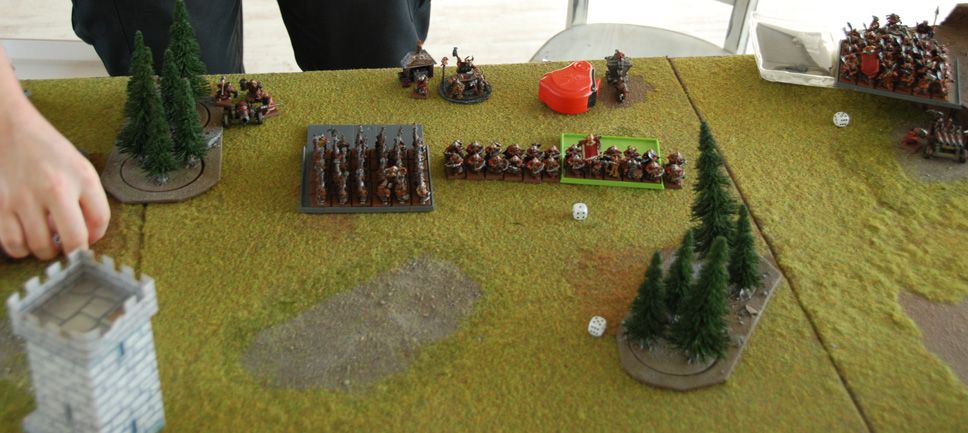
Next to the forest is a cannon, a unit of around 30 Hammerers, 24 Quarellers and an Anvil of Doom behind them.
He also put a pony cart on the table as a lucky charm…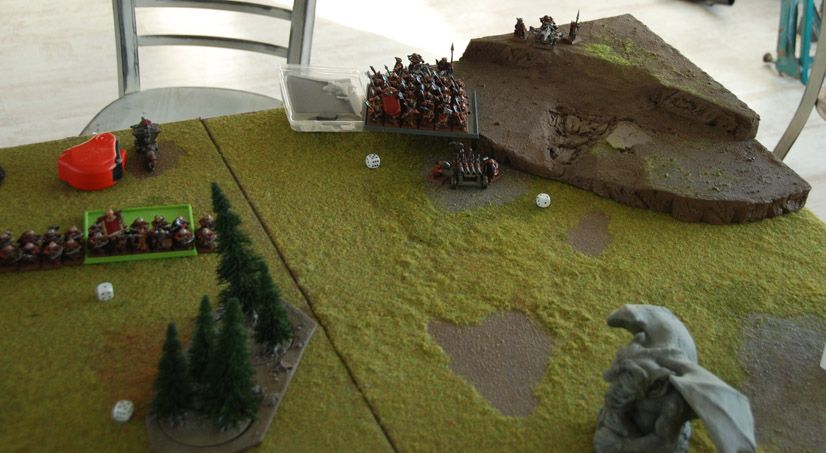
On the hill on the right he has his Organ gun another unit of 30ish GW dwarves and two Bolt Throwers.
Chaos Dwarves turn 1
I got first turn, which I was very thankfull for.
On the right flank my Wolf Riders vanguarded up and then I proceeded to forget to use their regular movement. My Lammasu and Bull Centaur hide from his cannon by sitting behind the Bale Stone.
The wolf riders take out the enemy Organ Gun thanks to 3 poisoned hits. Lucky!
My Doomcannons were both ineffective, because one failed it’s Rampage check, while the other simply scattered off off his Cannon.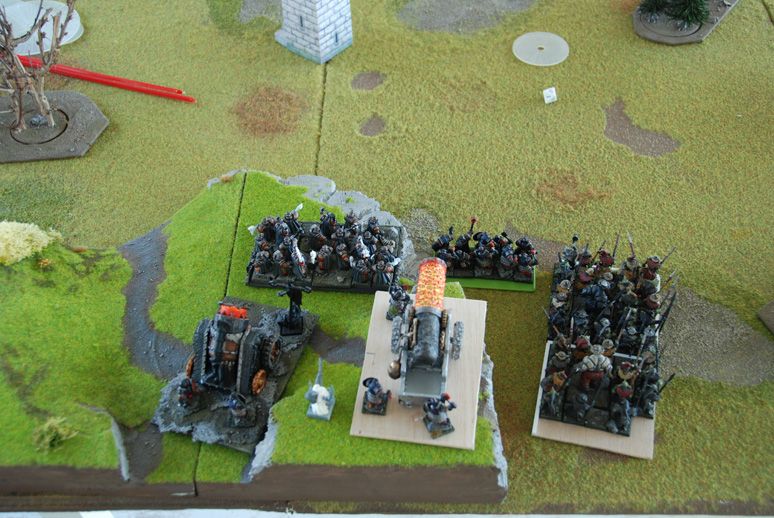
Seeing as my opponent has more/stronger combat blocks I decided to hang back in the center and try to wither him down.
I skipped my magic phase as I had nothing really interesting to cast and my opponent always had more dispell dice than I had power dice. This means I had to go for Irresistable Force if I wanted to get something through. I didn’t really have any spells that were worth Miscasting for, so in the entire game I only tried to cast a spell twice I believe. All other magic phases were simply skipped.
Dwarves turn 1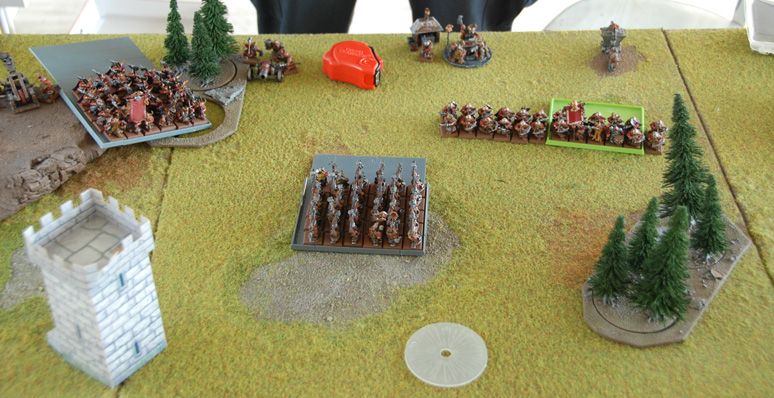
The GW DWarves on the right move up past the Grudge Thrower and into the forest.
The Hammerers march up in the center.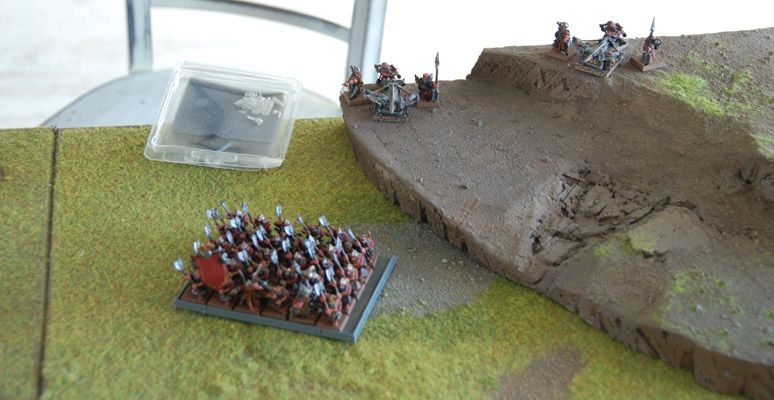
On the right his GW dwarves also move up as fast as possible now.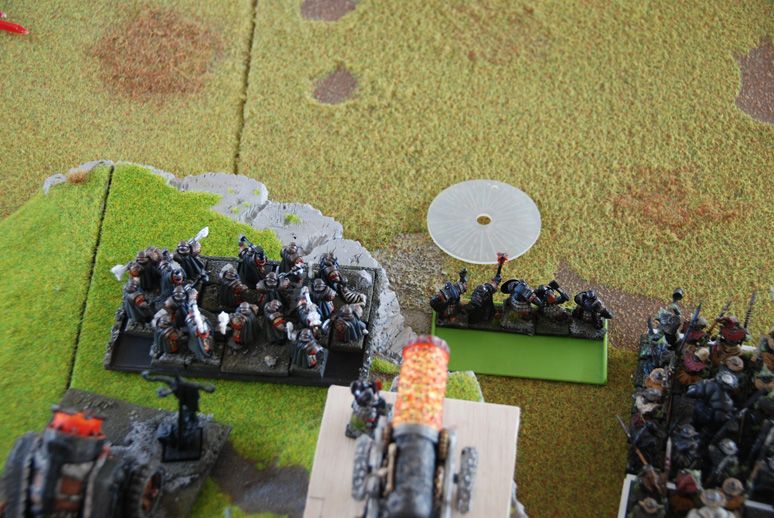
His Quarellers kill 2 GW Dwarves and half of the Immortals. The Grudge Thrower scatters off.
Both Bolt Throwers target my Doom Harness. One hits and wounds and does two wounds.
The Anvil of Doom fails to do anything.
Chaos Dwarves turn 2
Here I forgot to take some photo’s!
On the right flank my Wolf Riders move up to shoot his Bolt Throwers. My Lammasu also moves up and I park him infront of my Wolf Riders by mistake. The Lamassu breathes fire on the GW Dwarves and kills a fair chunk of them. The Bull Centaur still hides behind the Bale Stone (Gargoyle).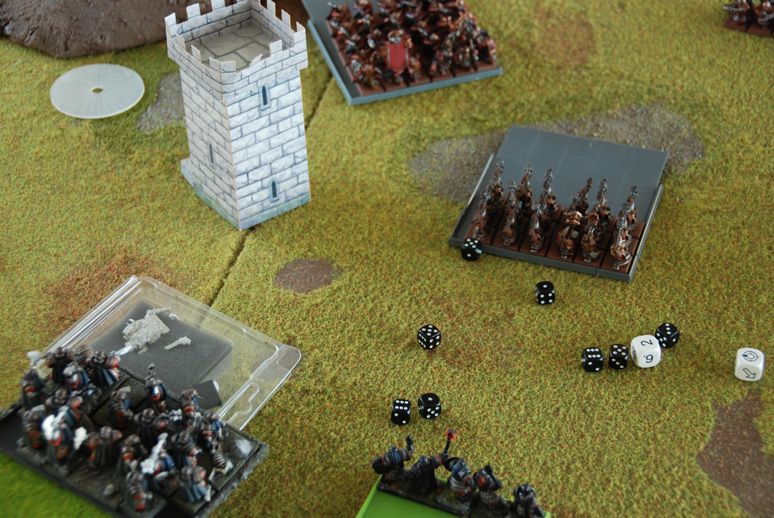
My Doom Cannons open fire and take out the Cannon and 12 Hammerers with a direct hit.
Dwarves turn 2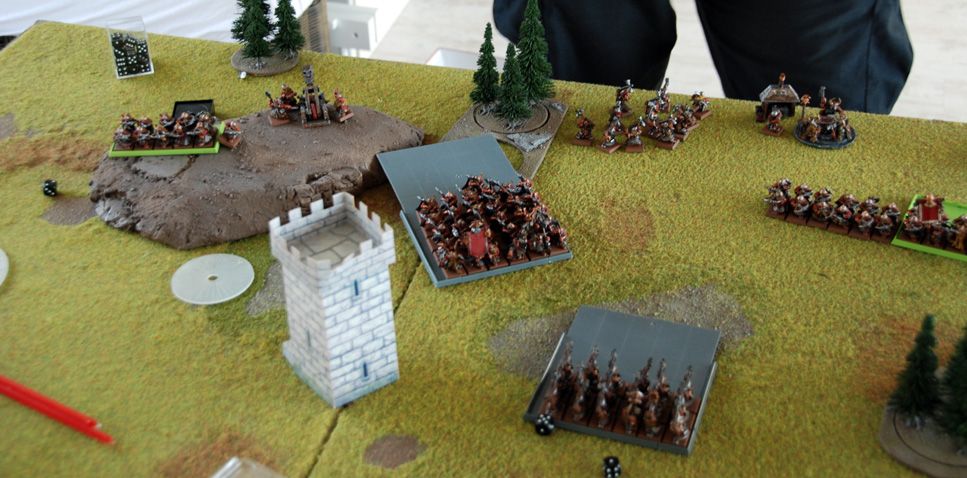
The hammerers in the center and the GW dwarves march up as quickly as possible.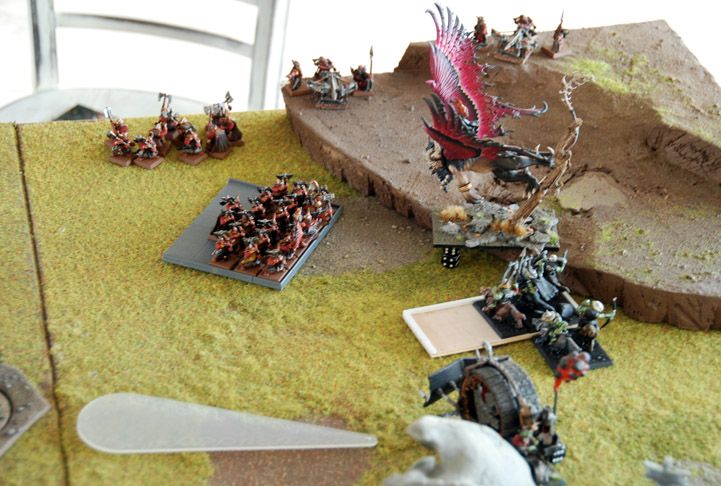
On the right his GW dwarfs reform to face my Lammassu, setting them up for a charge with the Anvil of Doom, but unfortunatly the Anvil fails to do anything yet again, leaving the dwarven combat units stranded.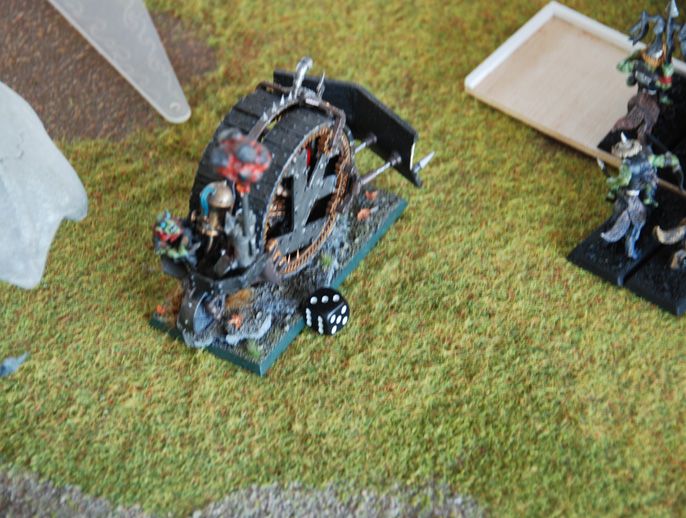
The Bolt Throwers target the Doom Harness again, and again one hits and wounds. Doing D3 wounds…it only manages to do 1.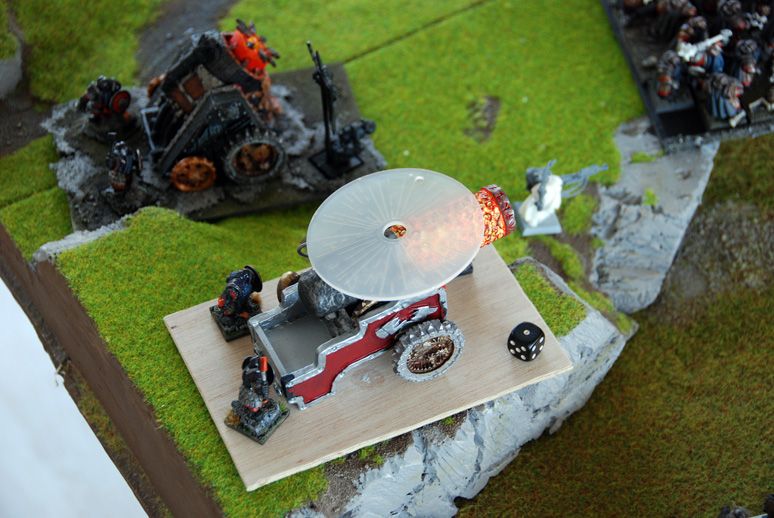
The Grudge Thrower scores a direct hit on one of my Doomcannons and wounds it. With D6 wounds…it manages to only deal 1 wound.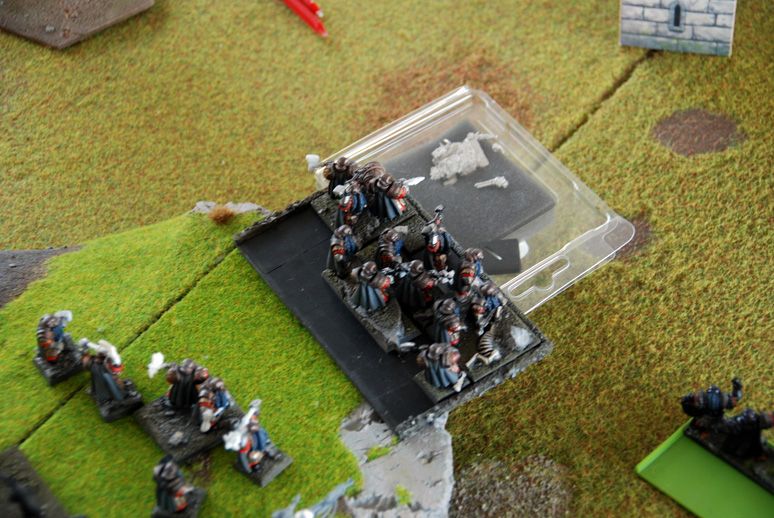
Both units of Quarellers now target my GW Dawi Zharr and their bolts begin to take their toll.
Chaos Dwarves turn 3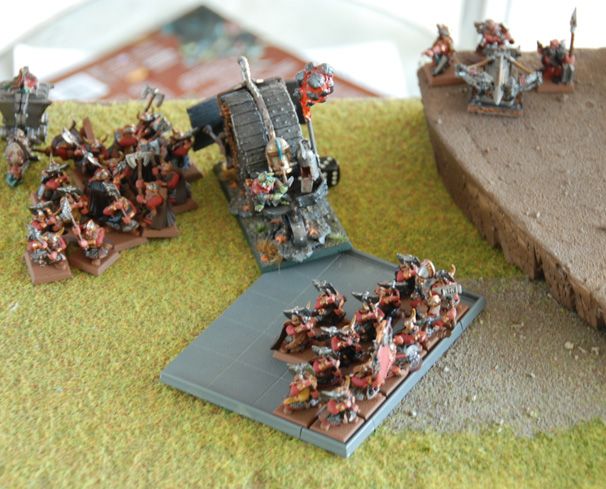
The Doom Harness keeps up it’s high speed and crashes through the Dwarf unit.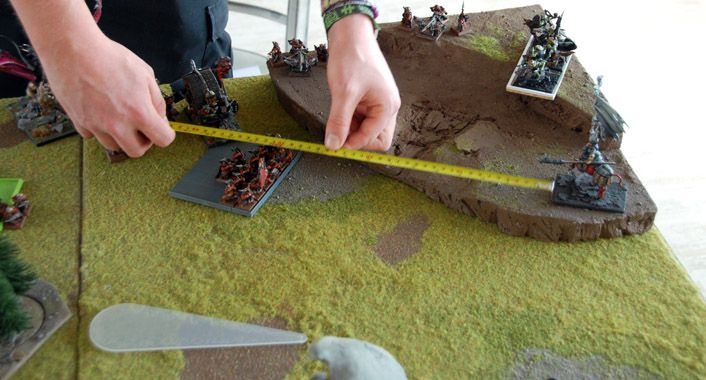
My Bull Centaur moves up, but keeps at a relatively save distance from the GW dwarves. My Overlord on Lammasu considered charging, but I didn’t really feel like suffering alot of GW attacks so instead he moved behind enemy lines, setting himself up for a rearcharge next turn.
The Hobgoblins shoot at one of the Bolt Throwers and kill two crewmembers.
In the shooting phase one Doomcannon hits the Hammerers dead center and reduce them to an ineffective combat block. The other Doomcannon targets the GW dwarves on the left, but scatters off. After a reroll it misfires instead! As a result the deamonic cannon rampages forward.
Dwarves turn 3
Seeing as the Dwarven artillery is either destroyed or fails to deal enough damage, the dwarves try to charge into combat as quickly as possible.
On the right the depleted GW dwarves try to charge my Bull Centaur BSB, but fail to reach him.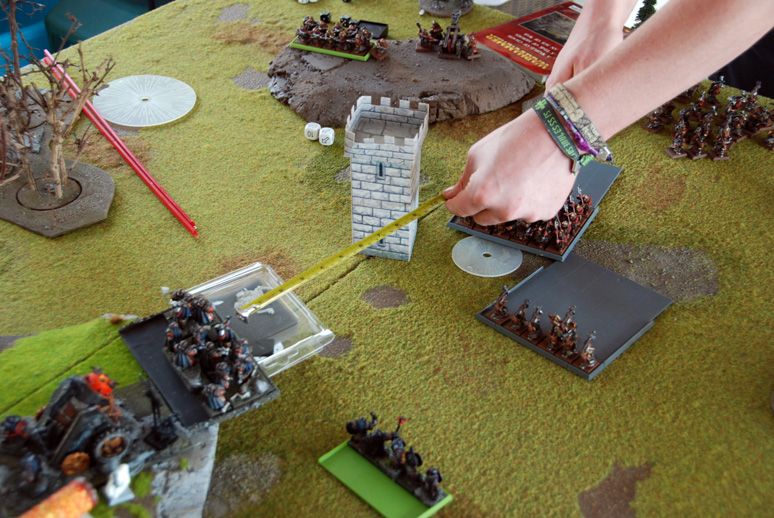
In the center the remaining Hammerers charge my Immortals as do the GW dwarves. Both fail however and they only stumble forth a short distance.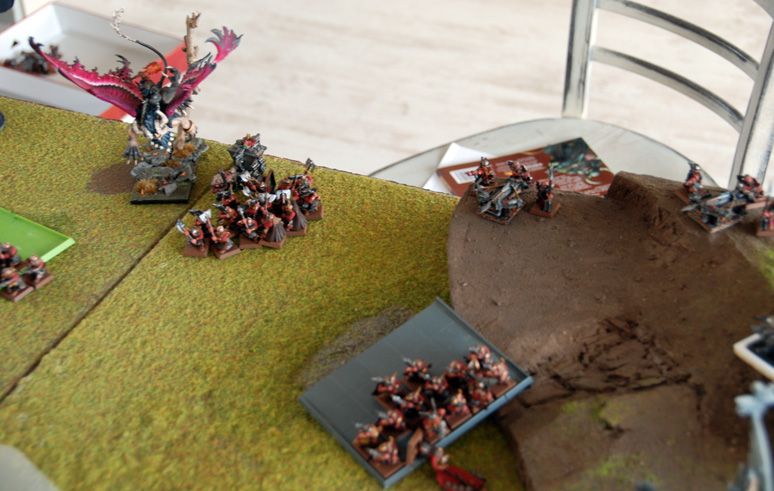
The Bolt Throwers finally manage to finish off the Doom Harness. While the Grudge Thrower on the other flank Misfires and is unable to shoot the next turn. The Runelord strikes his Anvil…and fails to get anything done yet again and can’t do anything next turn either.
Chaos Dwarves turn 4
My Bull Centaur and Overlord on Lammasu charge the GW Dwarves on the right flank and easily break them. The Lammasu gives chase and runs them down. I forget to reform my Bull Centaur and he’s unable to see the Bolt Thrower.
In the shooting phase my Doomcannons go to town yet again and reduce the other GW Dwarf unit greatly in size. The Hobgoblin Wolf Riders fail to finish off the remaining crewmember on the right.
Dwarves turn 4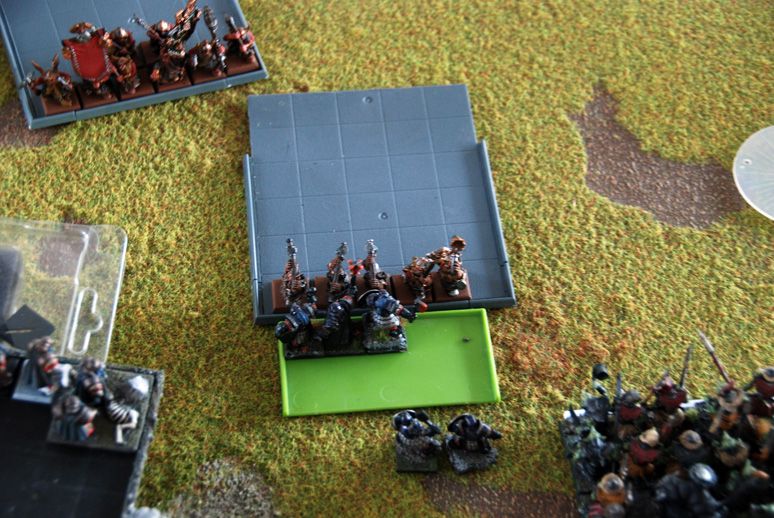
At last the Dwarves manage to reach combat, but it’s already too late. The Hammerers reach their hated cousins, the Immortals. They trade blows, killing two dwarves on each side. The Stubborn Immortals easily stand their ground.
Meanwhile the Quarellers bring the Dawi Zharr with GW down to 9 models.
Chaos Dwarves turn 5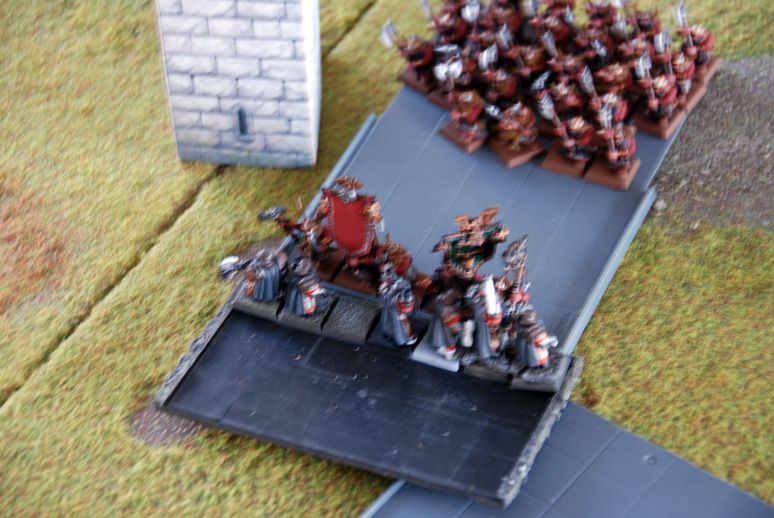
Seeing as the units are reduced to similar size, the GW wielding Dawi Zharr charge the GW Dwarves. By this time I had completly forgotten that that unit includes a Thane BSB, making this for a rather foolhardy charge!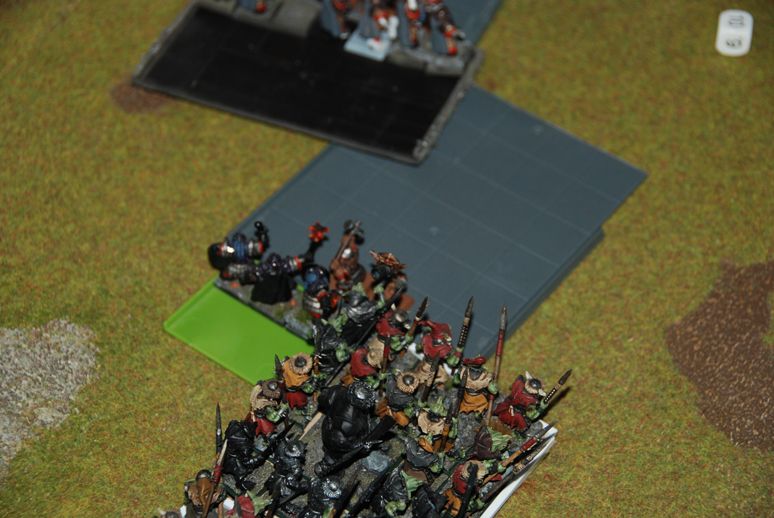
With no other suitable jobs, the Hobgoblins charge the remaining Hammerers. After all is said and done only 2 Hammerers remain.
Dwarves turn 5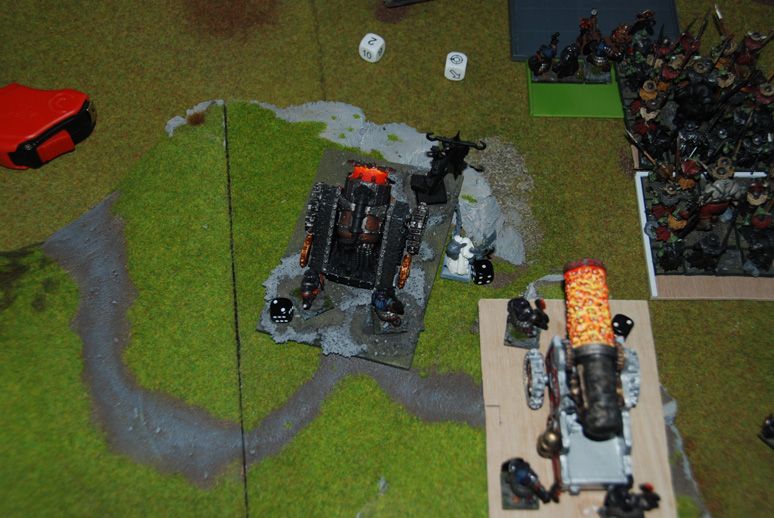
The Quarellers target my Doomcannons now, inflicting some damage. The Grudge Thrower hits home as well and with D6 wounds…it manages to do 1 wound.
In close combat the Hammerers bite the dust while the GW Dwarves with Thane duke it out with my GW unit. My GW Dawi Zharr are forced to take a break test, fail, but are allowed a reroll thanks to the Gleaming Pendant I added to fill up my army list (5 points!)
Chaos Dwarves turn 6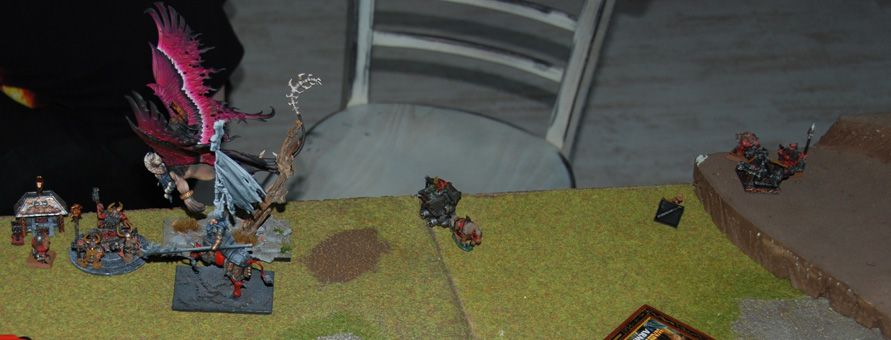
The Lammasu and Bull Centaur Elder charge the failing Runelord. I was fearfull to encounter Killing Blows or such, but the Runelord proved to offer no resistance and hit quickly went down.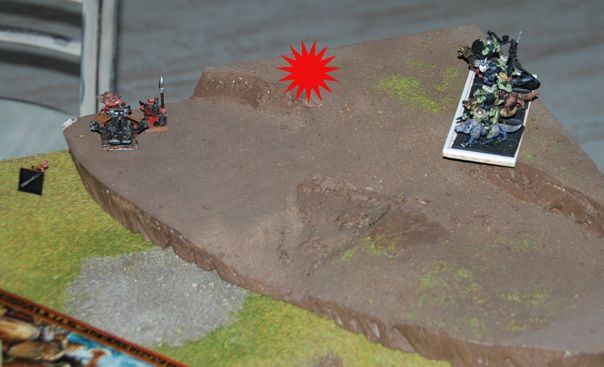
The Wolf Riders manage to kill the last crew member on one of the Bolt Throwers.
In the center I charge my Hobgoblins into his GW Dwarves with Thane, but quickly realise that it’s impossible to fit them there due to my Immortals. Stupid!
The GW Dwarves with Thane finish off my unit.
[/u]
With nothing much left to do, my opponent tries to score some much needed points by charging my Immortals, but the Immortals kill off the Dwarf unit, leaving only the Thane standing.
In the shooting phase he manages to finally finish off one of my Doomcannons.
Post battle thoughts
And that was that!
Unfortunately this battle was determined by bad luck on my opponents side. It started with the random deployment and never really stopped. Where my artillery was devastating, his missed or misfired. Where I made charges, he failed them.
It was great to see two painted armies on the table, but it was a shame the battle was so one sided. My opponent didn’t really enjoy the game, and I can’t blame him. It sucks when everything fails due to bad dice rolls.
I hope you enjoyed this battle report, thanks for reading if you got this far!
 Also, that Lammasu is boss and I will be forced to do some poking around into your forum posts so I can see some more photos of it.