dedwrekka:
I’m hyped on caffiene and hacking at my models all night long! In my madness I’ve come up with a quick and dirty guide for simple conversion from Chaos Warrior to Chaos Dwarf.
I’ve also posted this on the Warmonger’s Forum, and Warseer.
I’ll probably wake up tomorrow and clean it up a little bit.
Dedwrekka’s quick and easy, one kit, no greenstuff Chaos Dwarf conversion guide. All you need is a Chaos Warriors box, a hobby saw (I use GF9’s Hobby Bone Saw), a hobby knife, and glue.~Mad Mek Dedwrekka
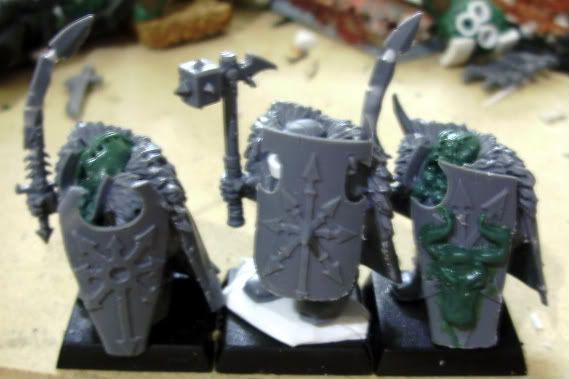
You start with the Chaos Warrior. It’s best if you leave the back off until after you’ve “adjusted” his height, unlike I’ve done in the picture.
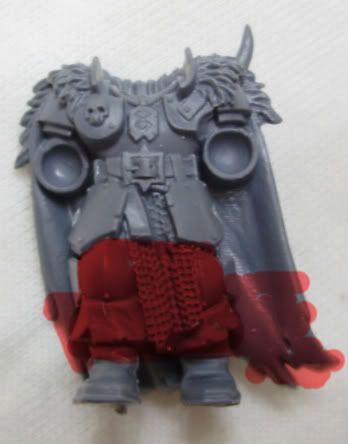
Saw off the portion of the legs below the thigh plates and above the ankles. You’ll need to make two cuts, one just above the knee guards and one just at the ankle of the feet. Make the cuts straight across as it’ll help keep the model balanced when you put the feet on.
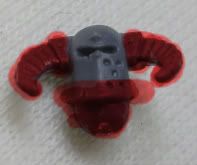
For the head, cut off the horns, and cut just a bit off the bottom. This helps fit the head with the body, and keep him looking stunty, rather than just a Chaos Warrior who’s been kneecapped one too many times.
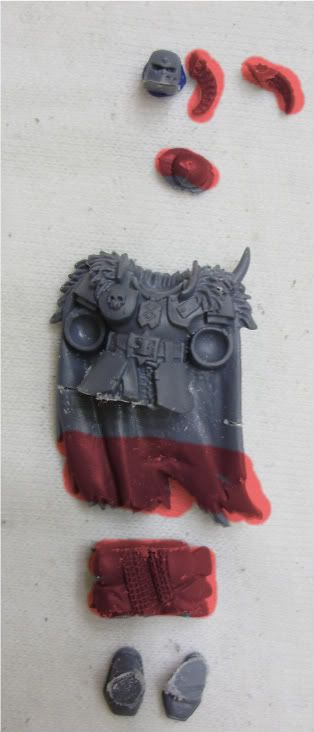
You should have something similar to the above. Fix up the cuts with a hobby knife. Glue the feet to the torso, you may have to play with the direction of the feet a little until you can get him to stand straight up.
Once the feet are attached, get a measure of how much you need to cut off the cloak. by seeing where the feet will touch the base, cut the cloak at a downward angle from the inside to the outside, which will keep it’s ragged look. Glue the head directly over the neck socket, it’ll be large enough to cover it up, but you can use GS to fill the socket if it makes you feel better.
Then you can attach the arms straight from the kit, or make adjustments where you like from there.
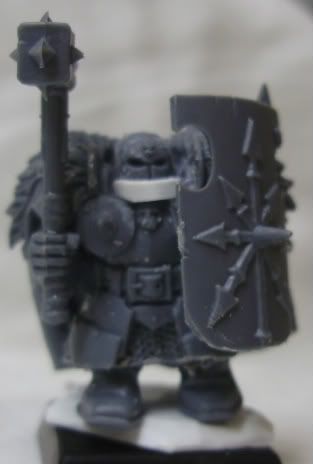
My completed Chaos Dwarf Warrior.
I’ve extended the collar by cutting plasticard tube in half and gluing it in front of the helm.
“I’s alive! It’s a…oh…get me a spatula and the AAs Igor”