JMR:
I’ve just finished a 1500 point battle vs. Furrie. Both of us took lists to try stuff out.
Furrie’s list:
- 39 Deamonettes + Herald
- 6 Flamers + Tzeentch Herald
- 6 Screamers
- 1 Fiend
- 1 Fiend
My list:
- 50 Spearhobs
- 20 Extra-hand weapon Hobs
- 27 GW Dwarfs + Pyrophant
- 1 Bull Centaur BSB
- 1 Arcane Artillery
- 10 BowHobs
I was very curious about the Doom Harness. I didn’t really have a plan while making this army.
I won’t type out the entire battle, but I’ll pick out some highlights.
In general, I hung back while Furrie advanced towards me. His Seekers vanguarded close to my battle-line. Furrie got first turn and moved up.
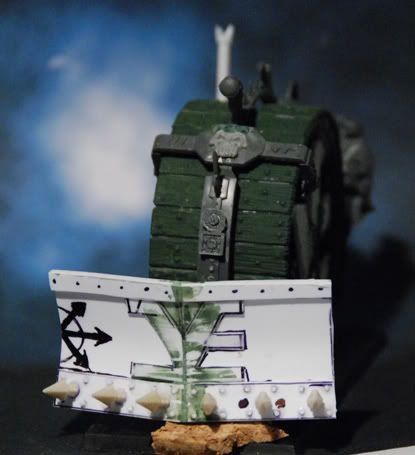
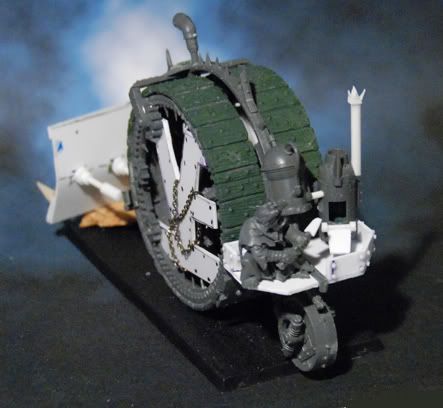
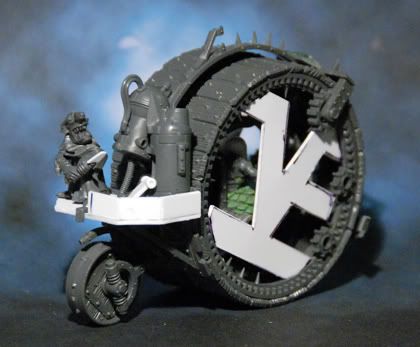
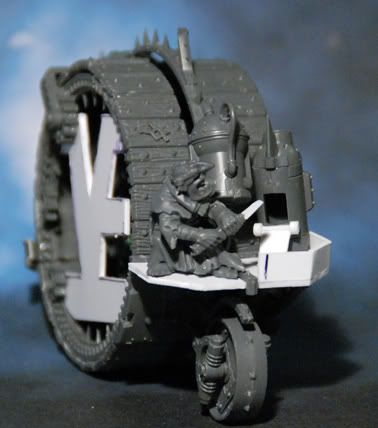
I pivoted my Doom Harness to face his Seekers, rolled for movement… double 6! Curses! That means I lose my Harness at turn one! Luckily, it reached the Seekers. It got to do 3D6 S6 hits instead of 2D6, because it rolled a double for movement. And lo and behold… I roll 3 sixes for the number of hits!! So, the game had only barely started and I already exploded 2 units - the Doom Harness and his Seekers. Crazy.
Turn 1 and 2 saw Furrie attempting to cast Dwellers while having Throne of Vines up, but failing both times. In my turn 3 I get my Bull Centaur Elder in combat with his Flamers + Tzeentch Herald. My Bull Centaur Elder is pretty much invulnerable with a 2+ ward save vs. Fire and he finally managed to destroy the unit in the final turn.
I manage to destroy his Fiends with my Bull Centaur Elder and my BowHobgoblins. Furrie’s horde of Deamonettes doesn’t manage to reach combat due to a failed charge in turn 2 and a Flame Cage preventing a charge in turn 3.
In turn 4, I cast a 3D6 fireball at his unit of 6 Screamers that are threatening my entire line, including Artillery. I manage to Miscast in the worst possible way and get to place a S10 large template on half my Chaos Dwarf unit and the nearby BowHobgoblins (but hey, who cares about Hobgoblins?). Not very healthy. I also manage to get my Pyrophant sucked into the realm of chaos in the process. Luckily, my 3D6 Fireball is enough to knock out all 6 Screamers.
This leaves Furrie with his horde of 35ish Deamonettes to finally reach combat with my Chaos Dwarves. My Dwarves lose the combat, but thankfully hold (no general left at the time). This allows me to flank and even rear-charge with my two remaining Hobgoblin units, sealing the battle.
Result: His army is wiped out. About a quarter to half of mine is gone too, mostly by my own hand.
Conclusions: Being able to pick off “chaff” with things such as Hobgoblins with bow, a lone Bull Centaur Elder and Fireballs is nice. Flame Cage can really save your ass, especially if your opponent heavily relies on one particular unit reaching combat. The battle probably would’ve been different if Furrie managed to cast Dweller’s Below once or twice. Then again, me miscasting and the Doom Harness crashing also had a large impact on the battle. Random chance can really be a big factor.
I’m still curious about what a Doom Harness can do if it doesn’t crash on turn one…


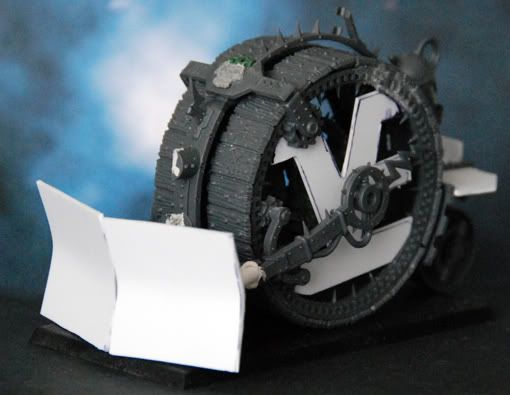
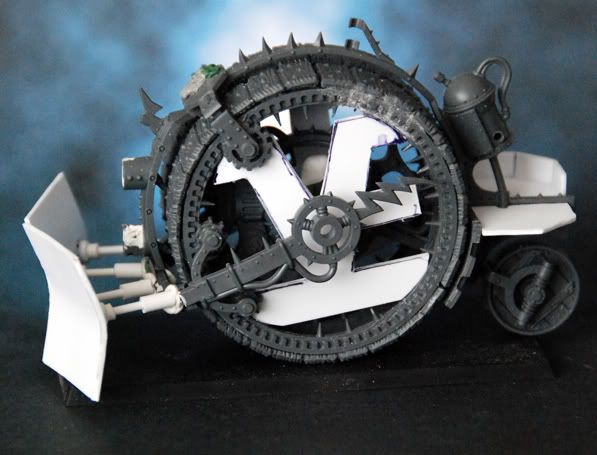
 no really it looks really cool! Really original idea and very well executed too!
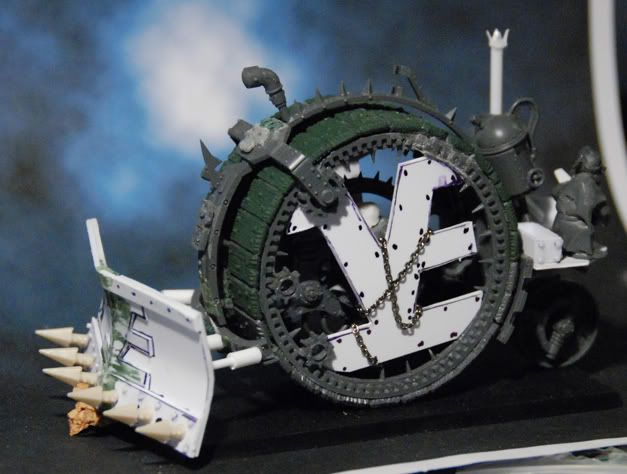