m3lvin:
Hello,
thought I show you the way I make my movement trays, and hopefully you’ll get inspired to make your own.
I can’t take all the credit myself for these (far from it!), they’re more of a fusion between Xanders magnetizing tutorial
and some movement trays I saw in Snotlings w.i.p pictures on his army showcase (last pic)
Anyway, It’s cheap, It’s effective, I’ll probably never buy movement trays again.
Here’s my take on it: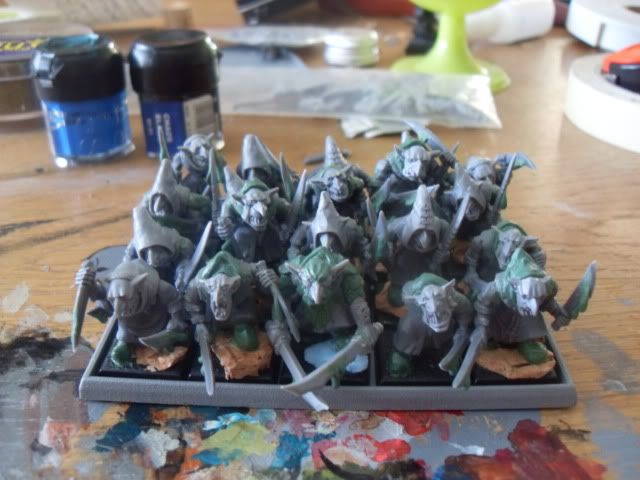
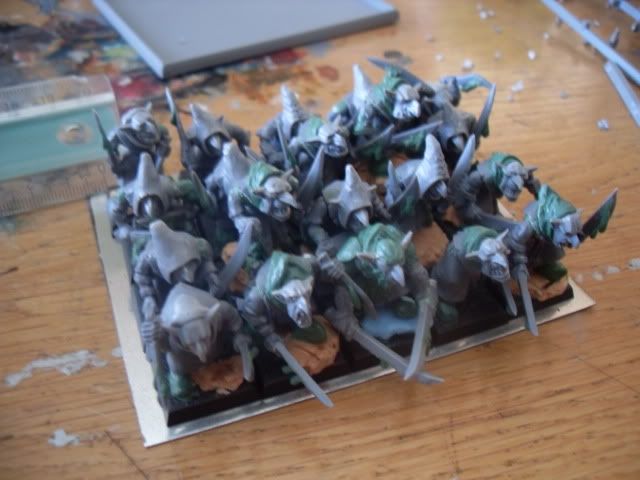
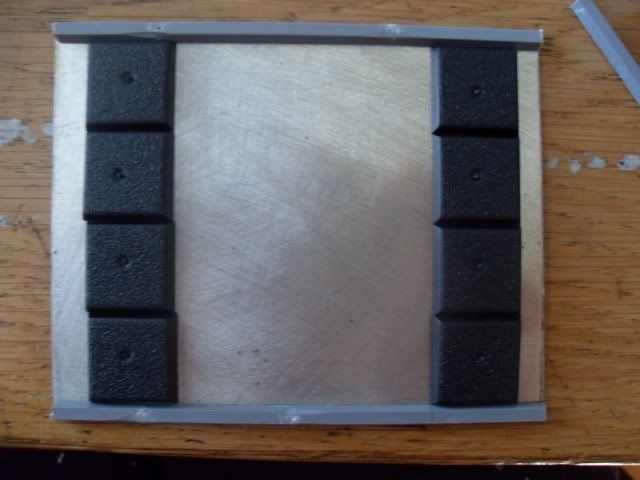
These are the vicitms for this tutorial, my 20 sneaky gitz, in a standard movemant tray.
The most annoying thing with these trays is that the models will glide off as soon as you place them on the slope to a hill,
or be in a huge mess when transporting them in boxes (like I do.)
One thing your gonna need is left-over sprues. (well, not these many, dont worry  )
)
It’s just that I usually save my sprues, because you’ll never know when they might come in handy.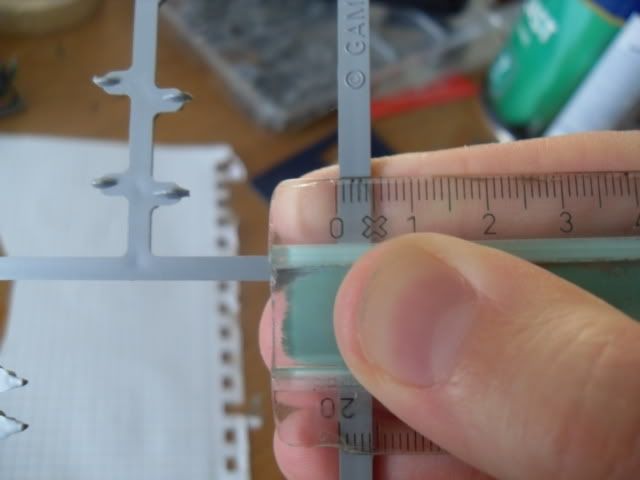
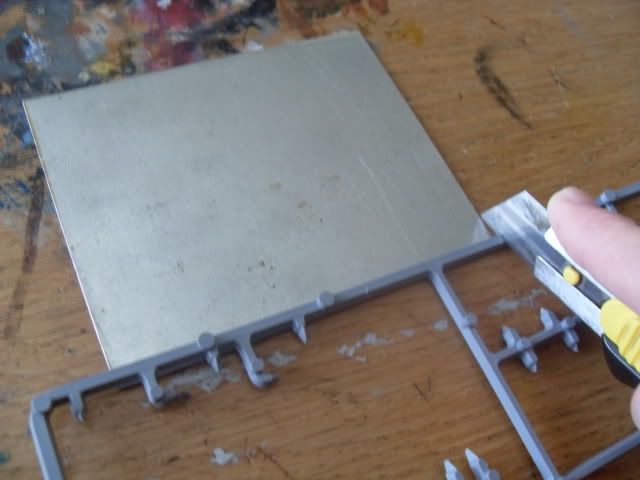
Take a sprue (one complete frame is usually enough for one tray) and measure the width of it.
The outer frame on the sprue is often thicker, so I mainly use those.
I preferr when they are about 4-5 mm wide.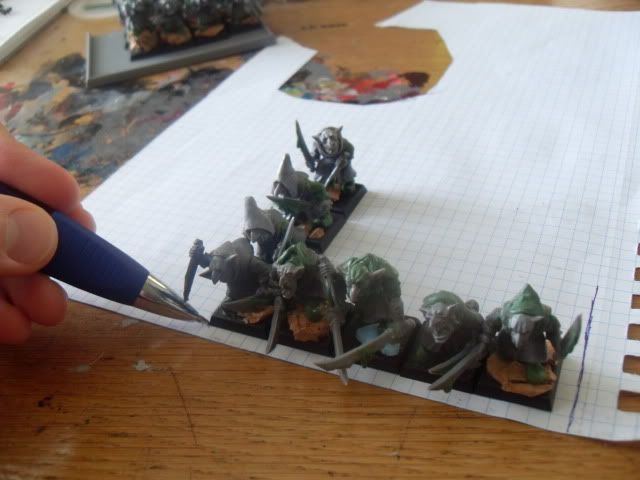

The trays bottom will be made out of sheet metal. If your not that picky if your models will be magnetized (although I recommend it)
you could just make the bottom out of plasticard or thick paper.
Anyhow, you’ll have to measure out how big the bottom should be. I use paper with 55mm squares, because I find it easier to measure then.
Place the models on the paper and measure the width for rank and files, and draw lines with a ruler. Remember to also leave space for the frame, which in this case is 5mm, (as the squares).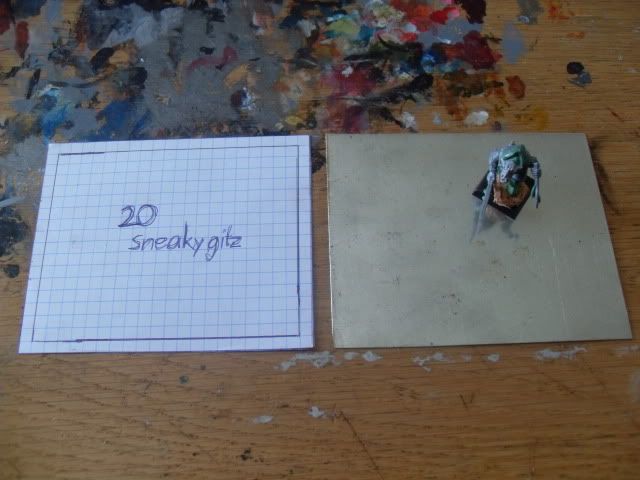
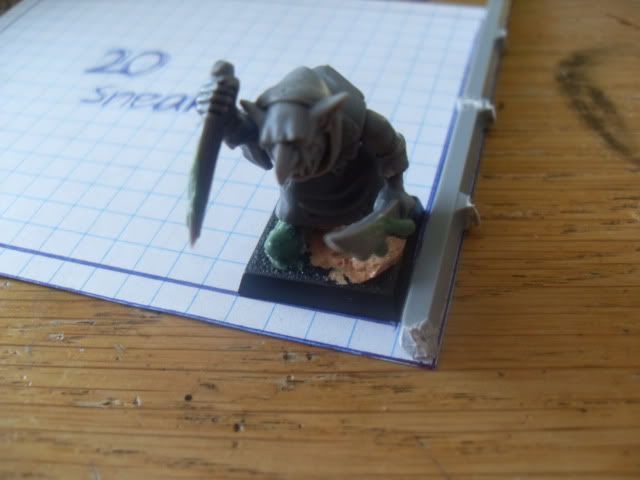
next up it’s time to cut the sheet metal (about 1mm thick). this stuff could be bought in hardware/ D.I.Y stores, unless you have the luck to find some in your dad’s garage 
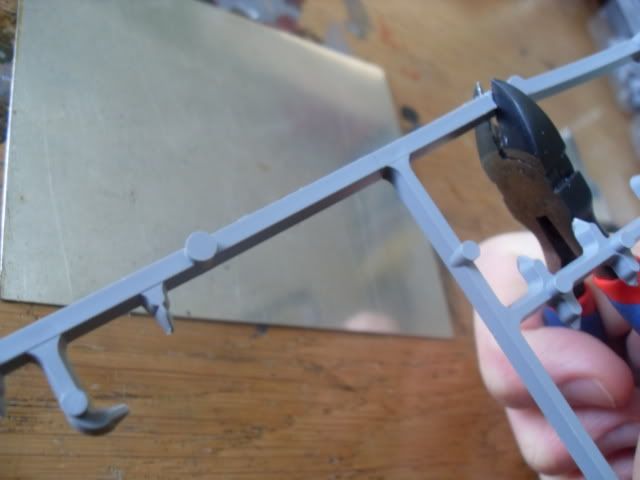
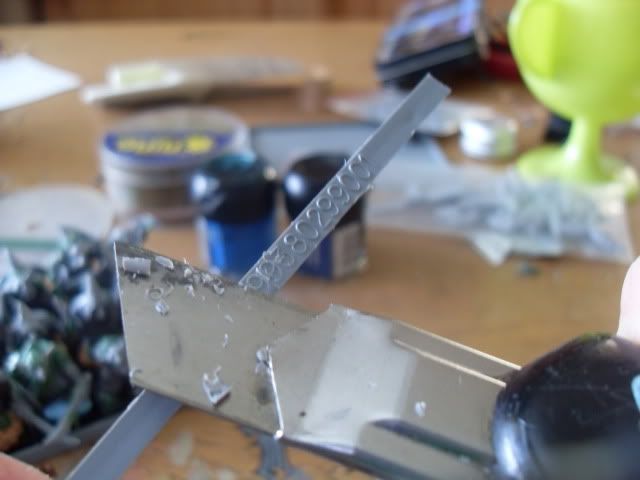
Take the sprue and measure how long the sides will be, mark it with the modelling knife, and cut it with the cutting tool.
Cut away as much as you can from the piece you’ll use, then carve away the rest with a modelling knife,
and remember to always cut away from yourself!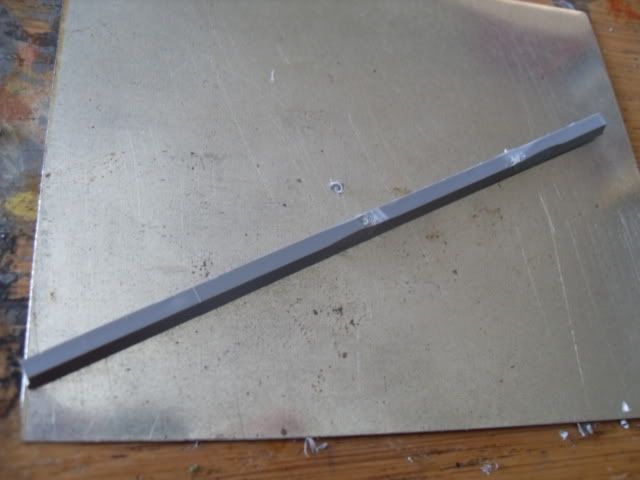
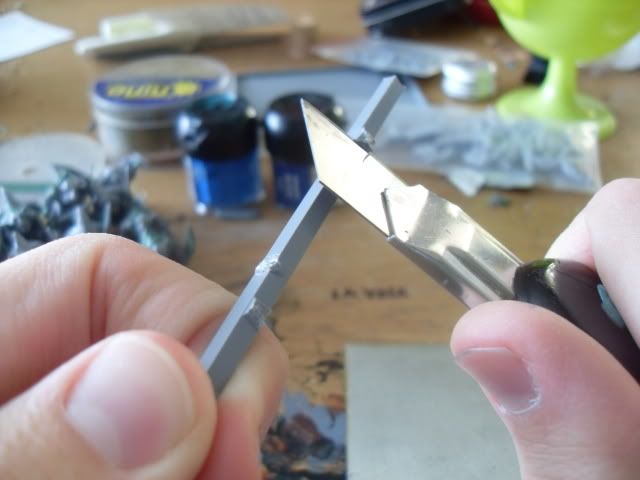
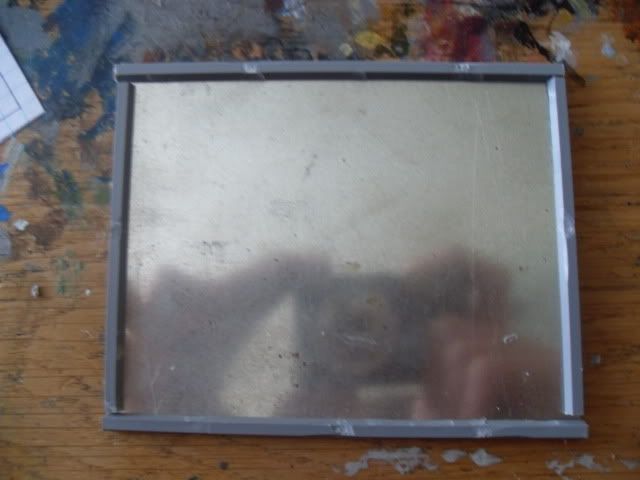
This is what It’ll look like in the end.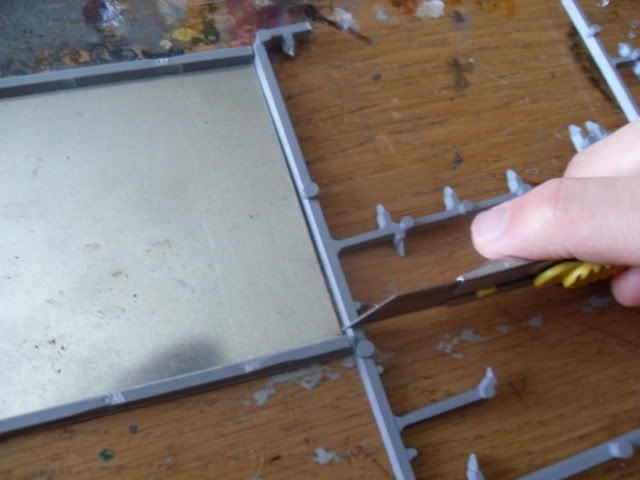
Do the same with the one in the back, and start measuring on the sides. I use to stick them inbetween the front and the back.
Measure one more time to make sure the bottom isn’t to big (then there’ll be big gap between the models, which I think is annoying).
If it’s a little more than 5mm spare on each side then cut it off, it’s better having 3mm spare than 7.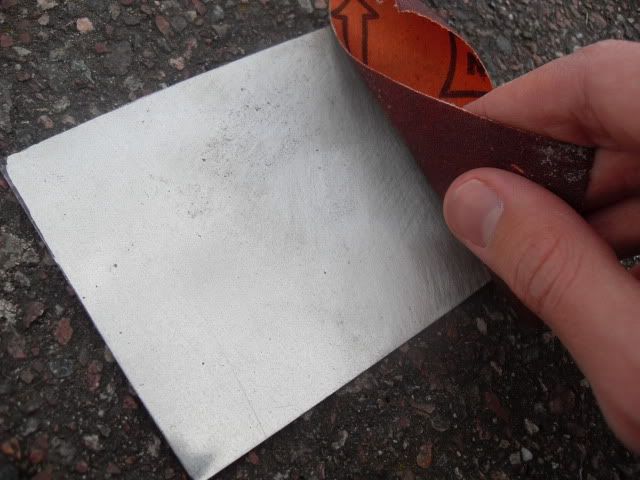
If you’re thinking of painting the tray later, now is a good time to use some sand-paper. This will make the spray stuck better.
before proceeding wipe the plate of with a wet paper.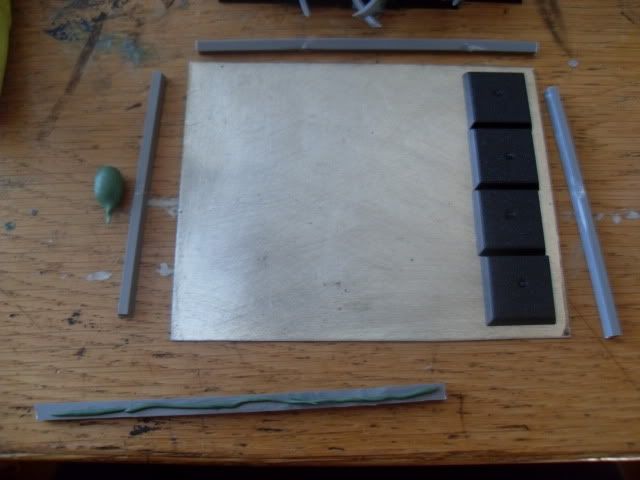
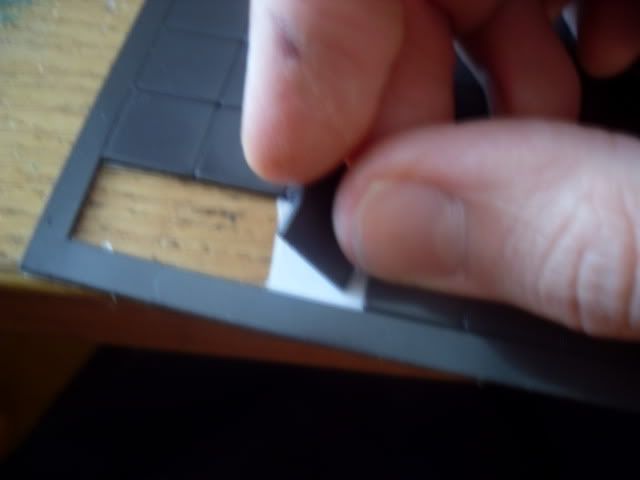
Bring forth the greenstuff!!
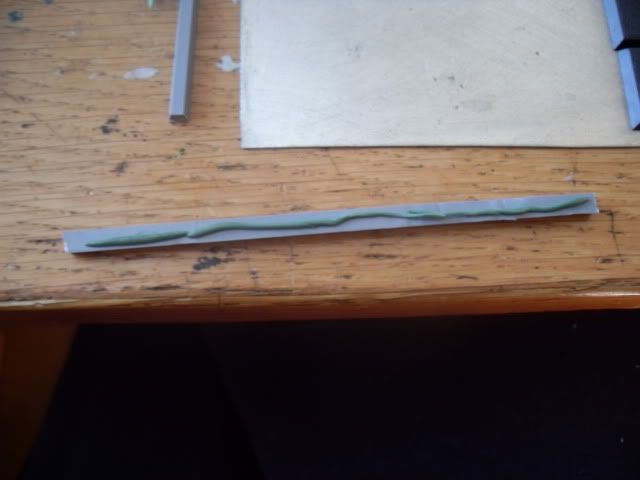
Now it’s time to put the pieces together. I roll thin sausages of GS and place them between two layers of superglue (called greenstuff glueing).
This will make them stick like rock. I used the same technique in my bolt thrower tutorial.
I use’d the spare movement bases to measure, so it’ll be a snugg fit.
It doesn’t matter if the frame pieces hang out 1-2 mm outside the bottom plate, the important thing is that there’s enough room so all the bases fit.
(If your using cardboard as a bottom instead of sheet metal, you’ll be better of using PVA glue when putting the pieces together).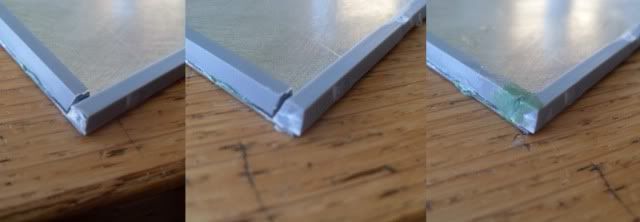
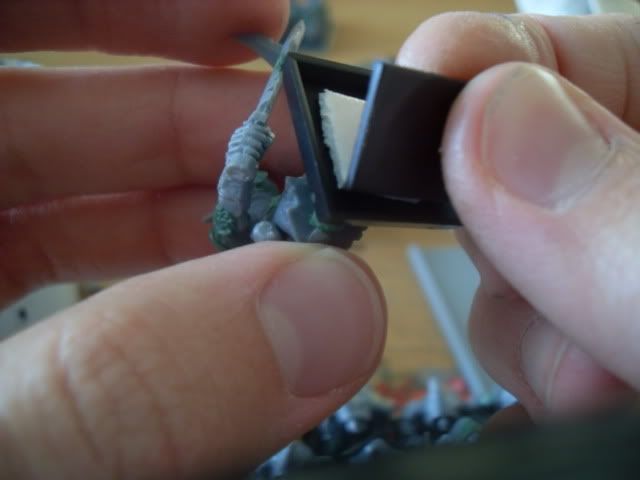
cut the corners on the front and back frame pieces, so that the angle matches the one on the sides. Then, fill any gap with greenstuff.
It doesn’t really matter If its not perfect, you still gonna base it afterwards.
Magnetizing the bases: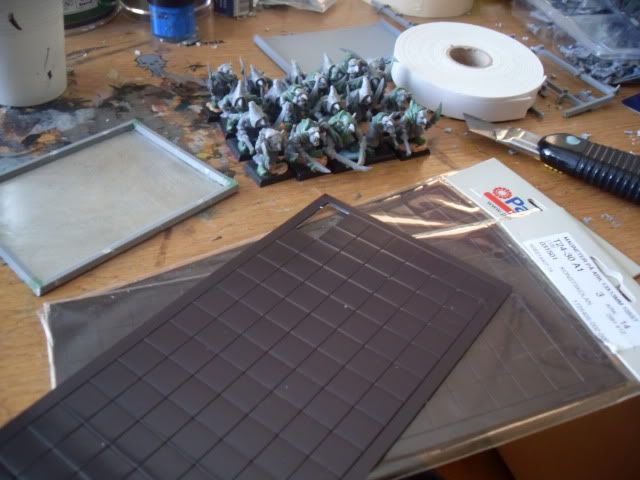
To do this, you’ll first need magnets, and Double Adhesive tape (the one that’s sticky on both sides). Its about 2mm thick.
I searched for cheap magnets, but their not as easy to find (and cheap) here in sweden.
For my northern friends I could recommend www.pandurohobby.com/. That’s where I bought my magnets, and they cost about 40 kronor per sheet (about 6 dollars).
Each sheet contains 105 1313 mm magnets.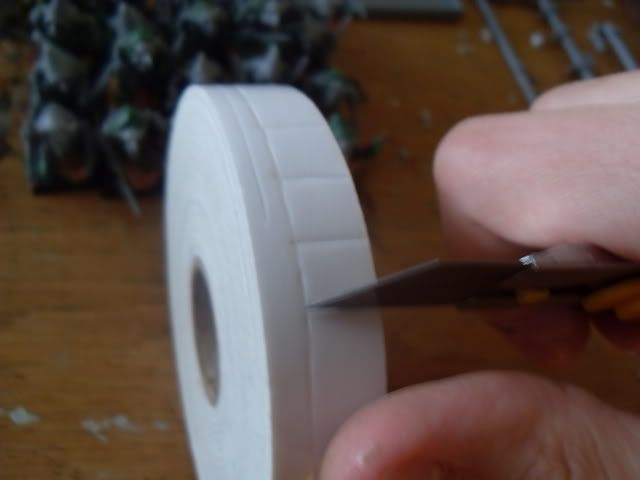

I start by cutting squares on the tape, that’s roughly the same size as the magnet, then stick it under the models base.
I remove the paper (exposing the tapes other sticky side) and placing the magnet on top of it, and that’s about it.
Magnetizing slotta-bases is a little bit harder, since there is stuff in the way under the base.
On my great weapon CDs, I experienced this problem, and you could solve it in two different ways:
1. Remove the plastic under the base, with a cutting tool and a modelling knife, and then using the same technique as on un-slotted bases.
2. Just glue the magnet straight on the plastic under the base.
This will make the model become 1-2 mm higher (depending on the magnet) and will make them stick up higher than the frame on the movement tray. To solve this problem make the frame 1-2 mm higher alswell (by using plasticard or thick paper) or just ignore it.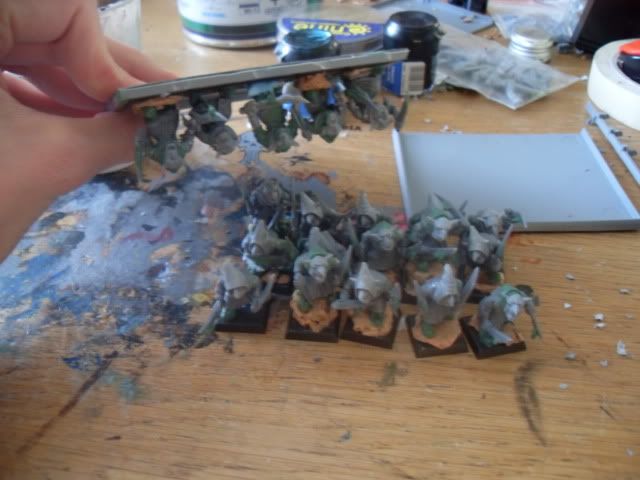
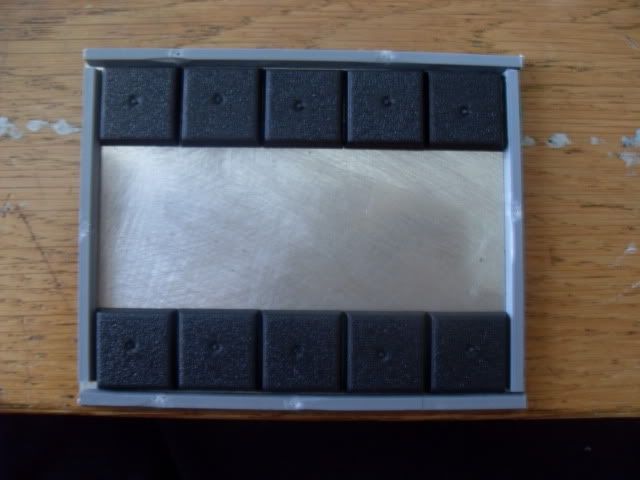
First rank magnetized, finally they can fly!!! 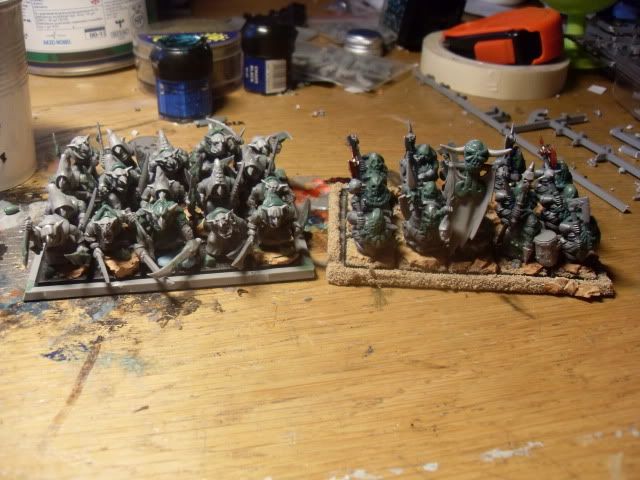
My “ready to be based” sneaky gitz next to my CD warriors.
I’ve been using the same technique on both of the movementrays.
So the tray to the right shows how It’ll look when its based.
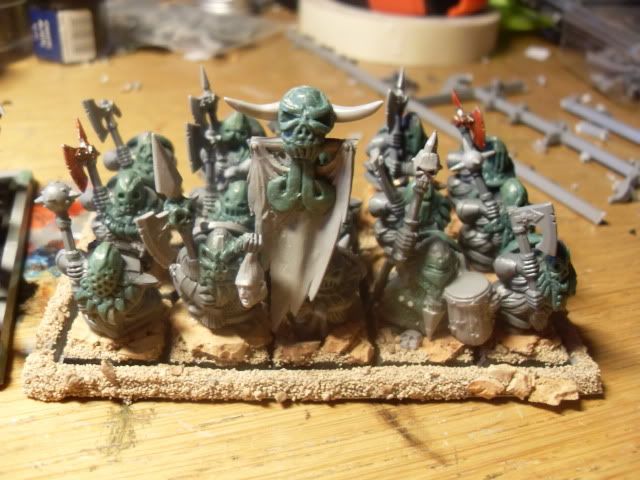
To see some more pics on my CDs with great weapons, click here.
That’s all for me :hat off
/melv
