AndyG:
My apologies firstly to the loyal Chaos Dwarfers among us, as with life and this project, my CD’s have taken a slight back seat. While I am still gaming with them, my hobby attentions have been focused on a titanic hobby project which I brought back from the FW open day at the end of March.
As many of you will have either seen here, or on the FW Blog, I got rather luck and won the raffle for Children in Need, winning my self a complete Reaver Titan Kit.
So in the rather unlikely event anyone else purchases this kit, I thought I’d mention a few things I have discovered while building and painting, as well as show off a few pics as the painting gets done.
The first major this to mention is do not try to assemble this kit with superglue. while it bonds fast, the strenght of the bond is weak and will easily break under the pressure and weight of this model.
I would recommend using a 2 part epoxy. I personally used a 5 min setting epoxy. This gave me a relatively short bond time, but with a very high strenght. Of course the longer the setting time, the higher the strength bond, but you do have to hold it for nearly all the setting time!
So here 's the box upon arrival home. Weighing in at over 7kg this is a beast of a kit… 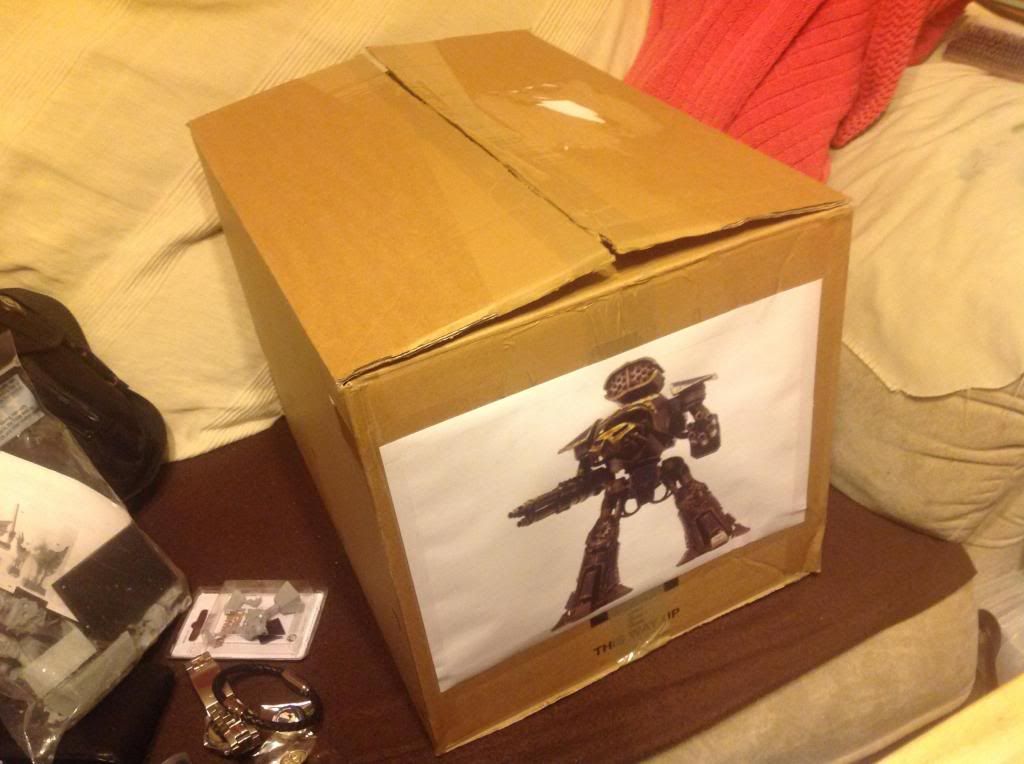
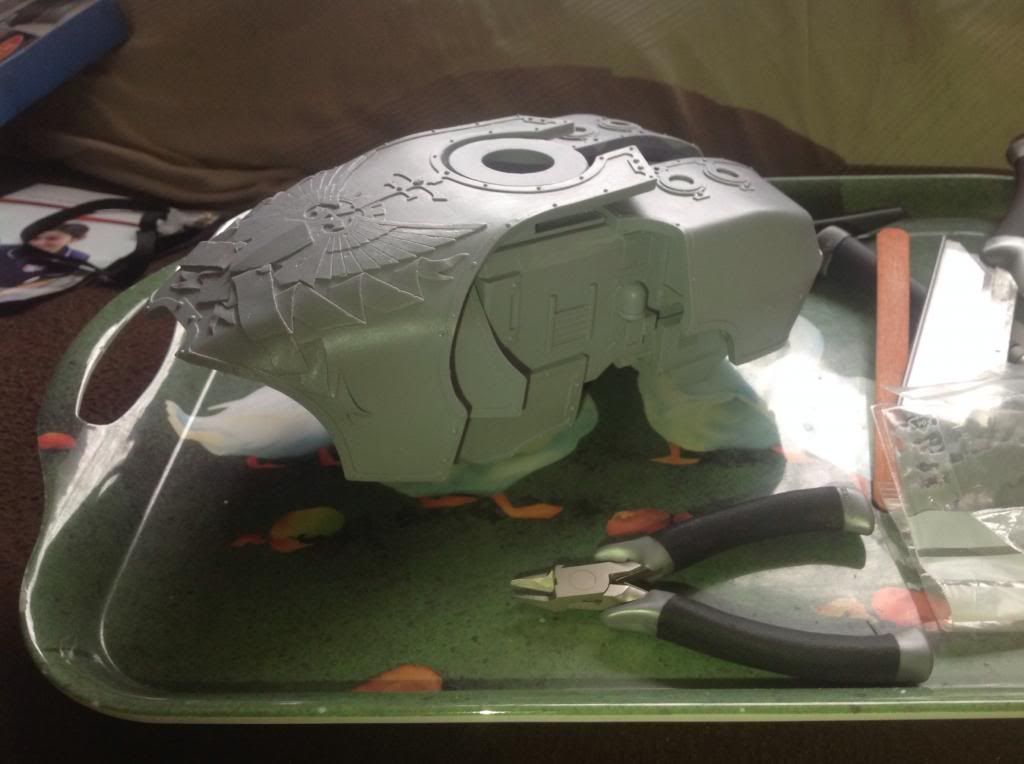
Here we have a dry fit of the torso section
[/u] - Most of this top half of this kit holds itself together very well, with each of the pieces fitting tightly, but nicely into place. This allows you to get an idea and feel for the model.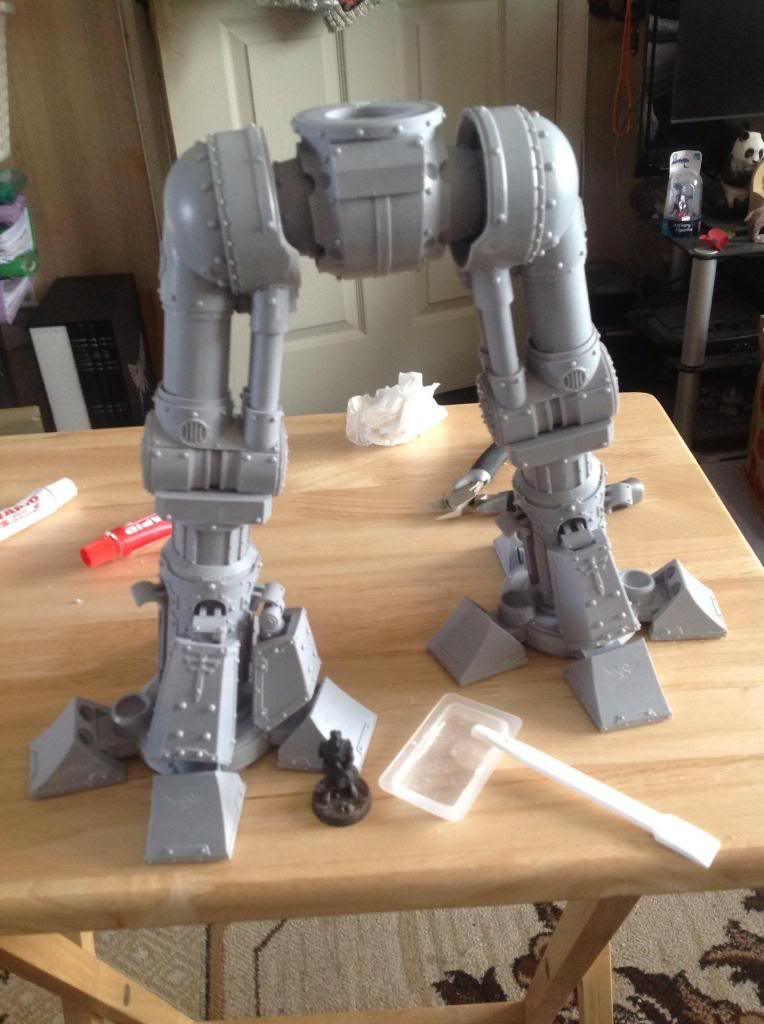
So moving on to the legs section. I started be glueing the hip balls and upper legs together, then (with assistance of a spare pair of hands or two) gluing the hips, to the pelvise and the upper legs to the knee joints all at once. This allows you to pose the model easily.
Once you have the hip assemble complete, move on to attaching the feet to the lower legs. This is reasonable straight forward, and while continuing to glue the feet on with Epoxy, I used superglue for the pistons around the leg. I did this because the will hold the feet in the correct place to the legs and form an instant bond. These dont need the same strenght on the bond as the rest of the joins as there is minimal weight pressure on these parts.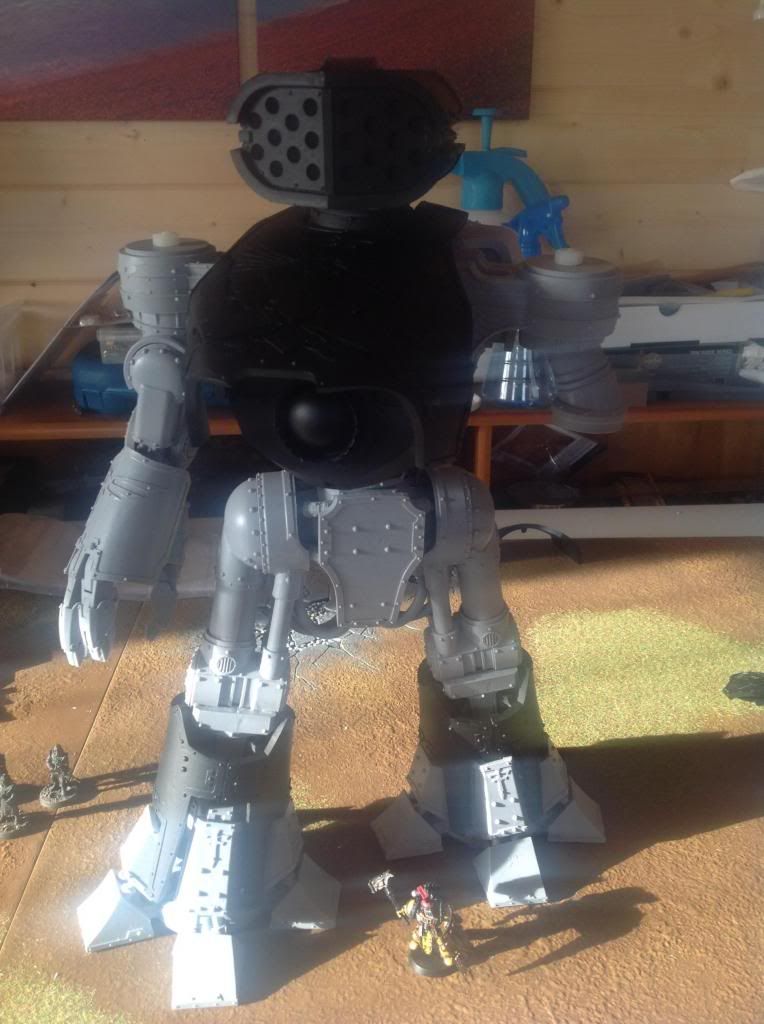
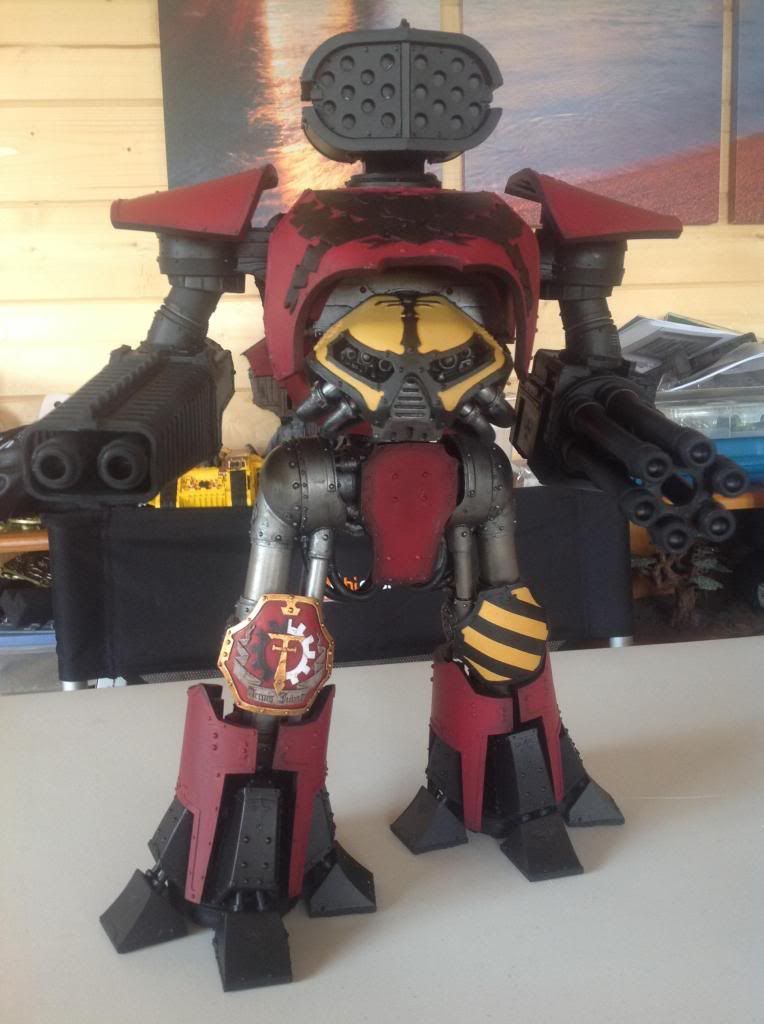
Here we have the main body and powerfist arm. You’ll notice I have bolted the arms through the shoulder sockets. This enables me to change any arm for any arm. I have drilled a hole in the shoulder pad for the nut to sit inside of. in the gun arms I have also sunk 2 magnets into the arm and two into the gun so all guns are inter-changable. At this point I have found even 2 part epoxy not to be strong enough. I have instead used a cold weld (JB Weld) to secure the magnets in place and then put a layer of epoxy over the surface of the magnets.
I should also mention that while he looks fairly complete, a large amount of the model is only rested in place, not glued yet, this will take place after painting.
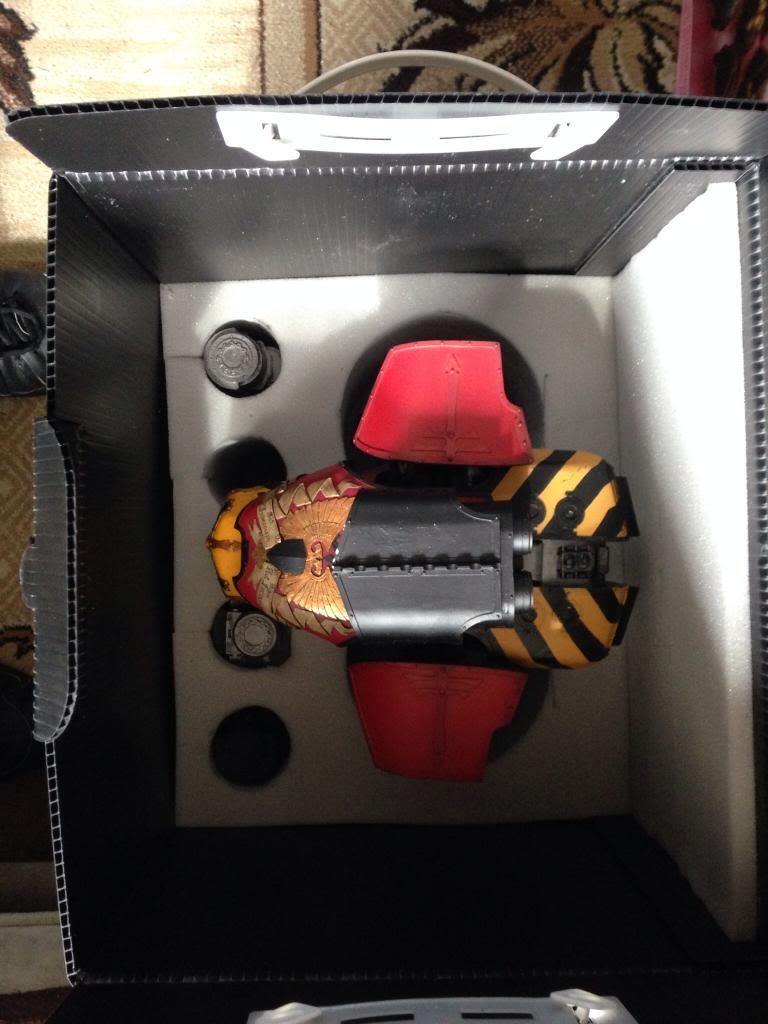
[/u] - I had over 40 sub assembles to allow me to paint all the details. While this means you have to scrape of the occasional surface to make the epoxy glue, it is well worth it to make sure none of the detail is missed.
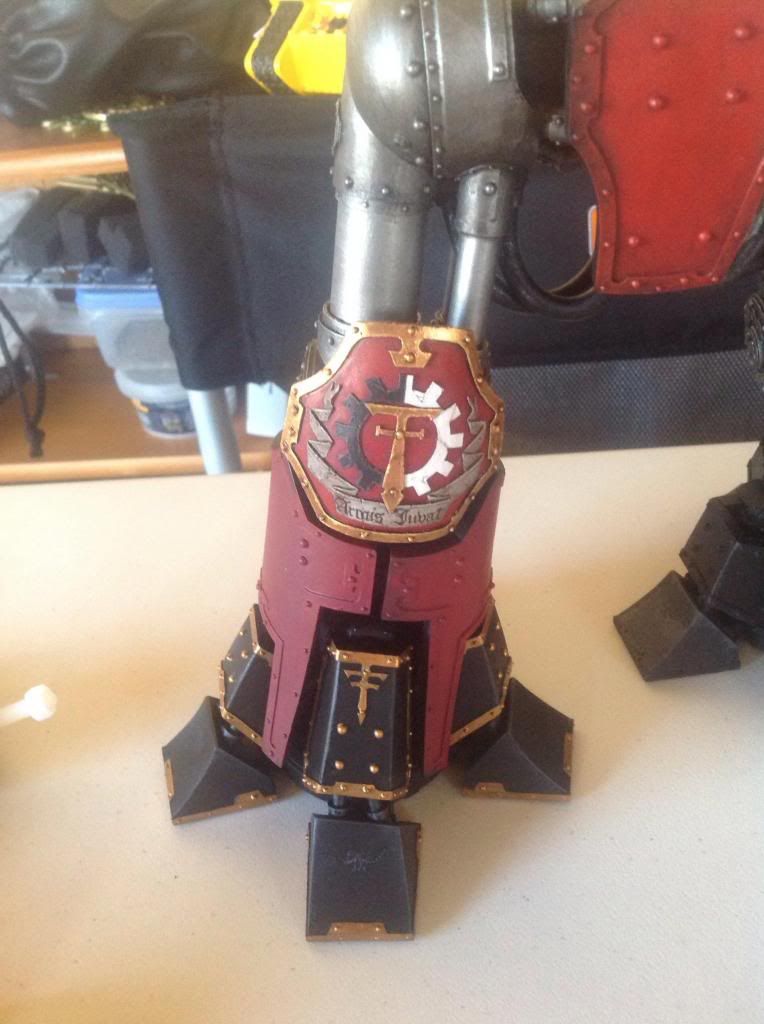
Now here we are starting to get some paint on. Having painted the neck and back plate of the head, I have scraped back the paint and glued these together. I have also painted and glued on the lower carapase. The top two carapaces are not glued and neither it the head carapace. these will not be glued on to allow you to see the interior detailing. the torso is not glued to the waist, this will happen later, and the waist is then magnetised to the pelvis and leg assembly.
Finally I have not glued on the leg guards, this will happen when both the guards and legs are fully painted.
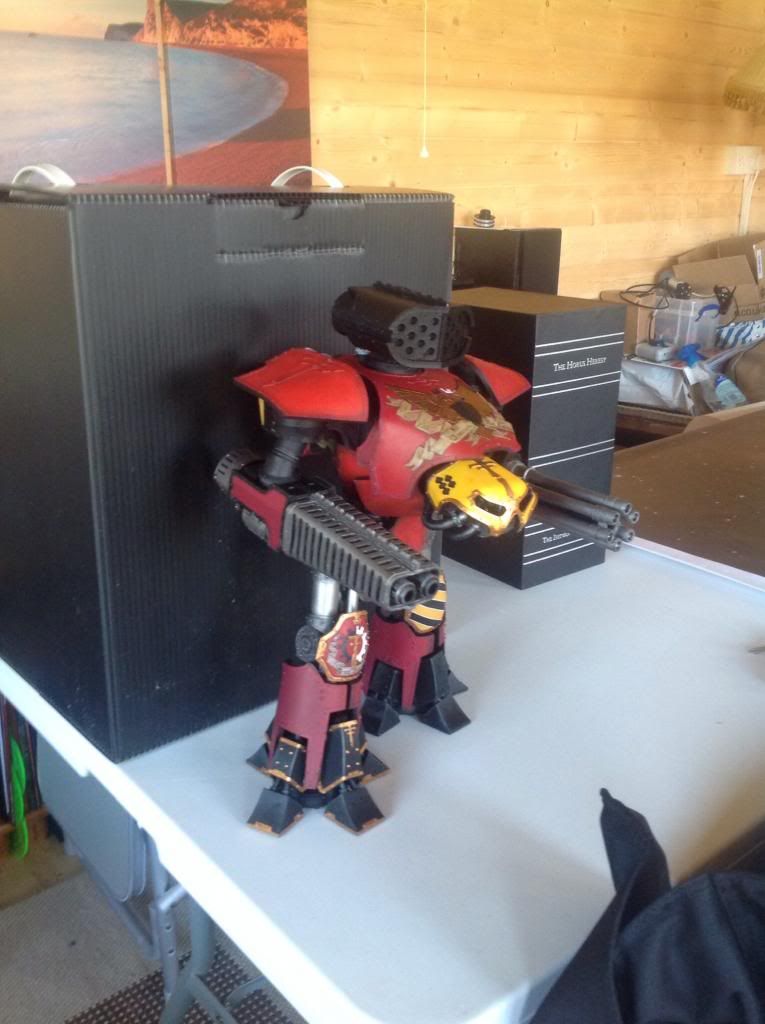
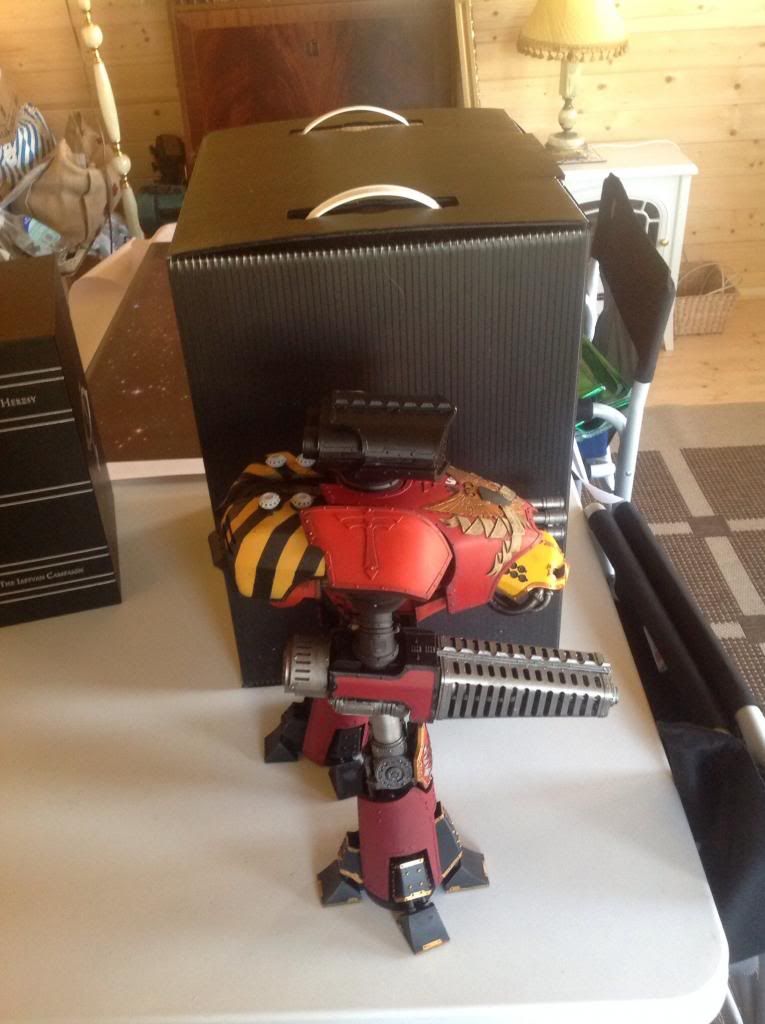
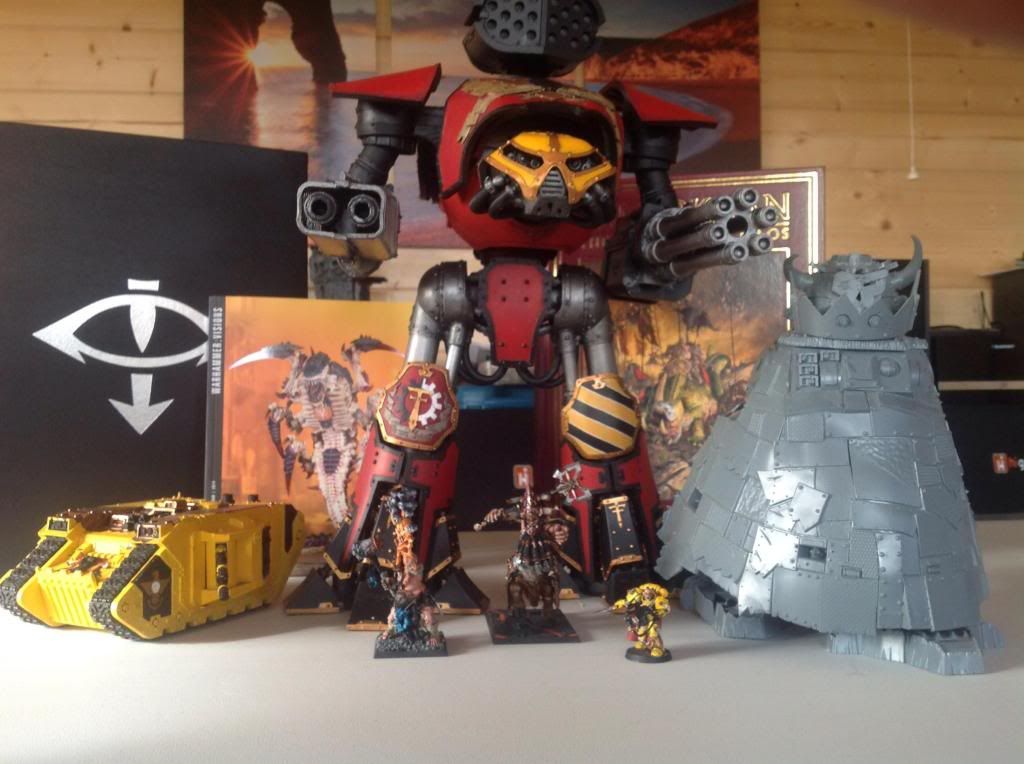
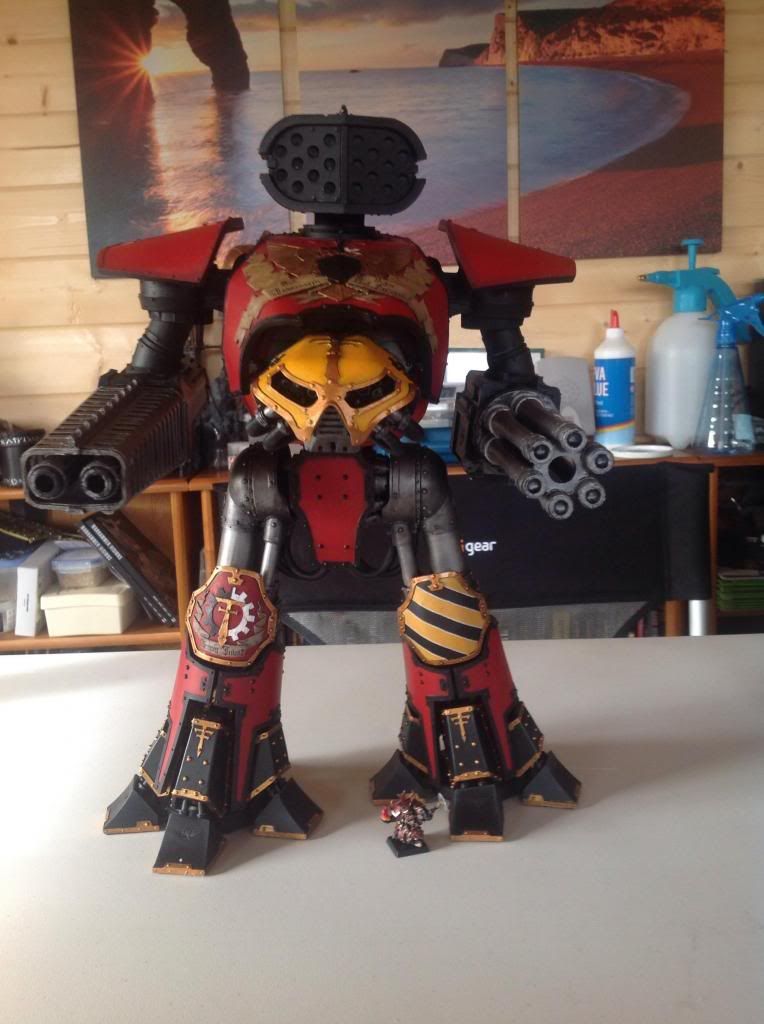
I decided to opt for the Titanicus Legio Ignatum colour scheme to fit with my Imperial Fist space marines. So all in all the project is coming along nicely although slower than I would like.
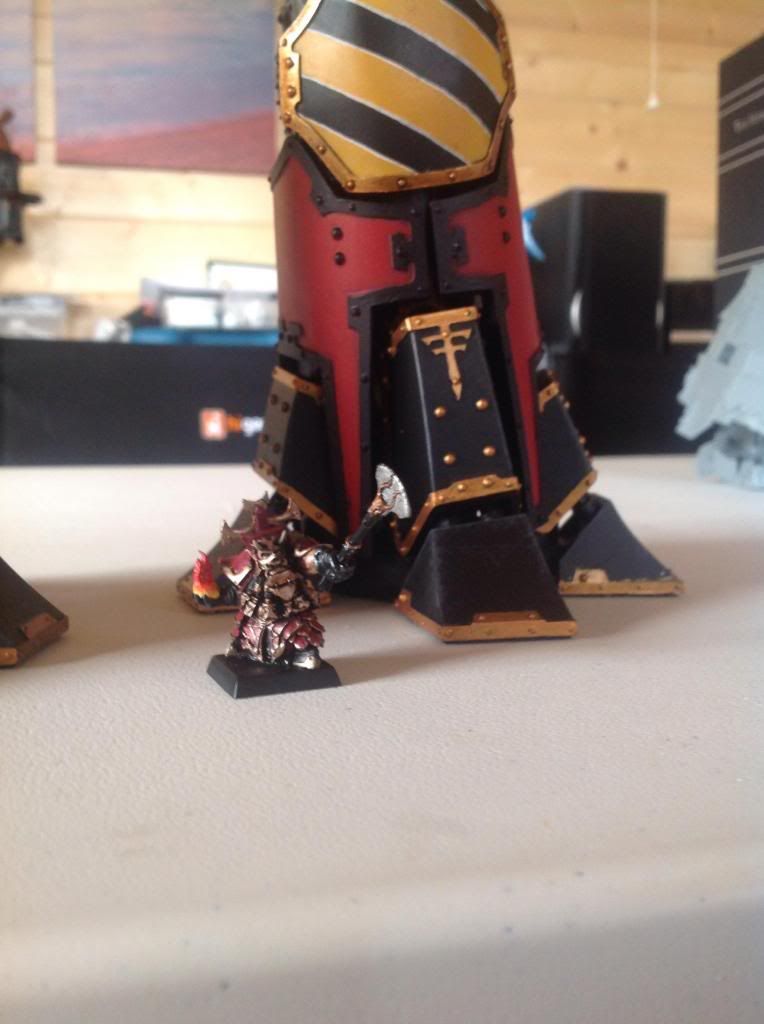
Finally as a bit of a naming ceremony , here’s the first piece practically finished.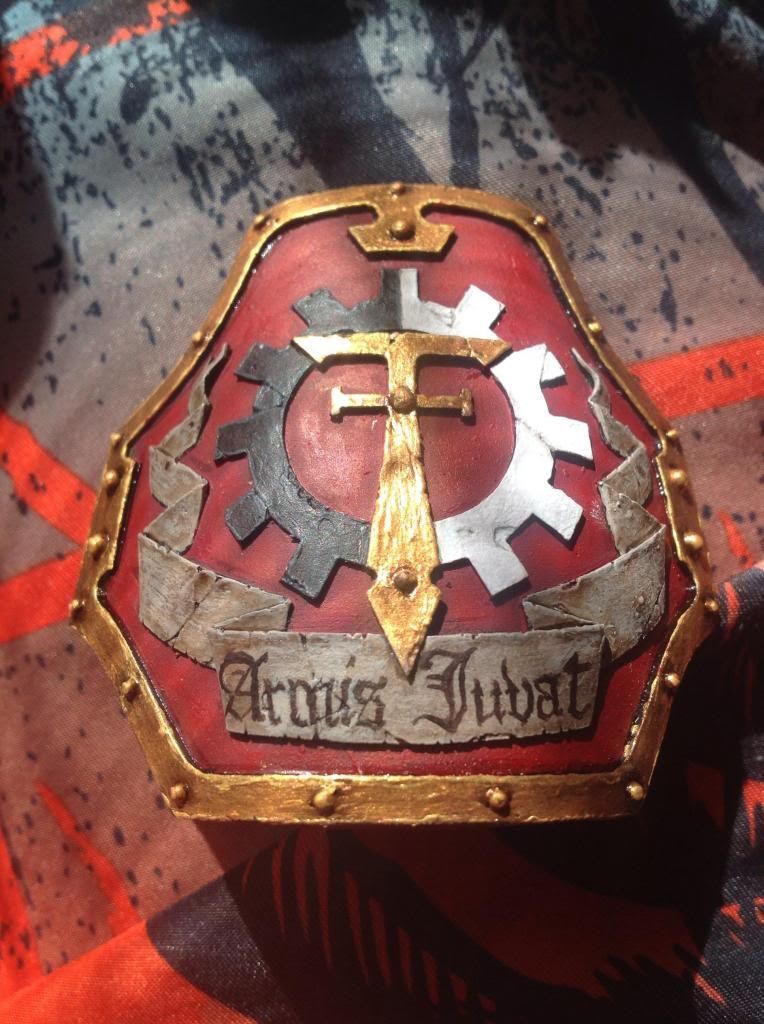
Reaver Titan Armis Juvat, (Arm of the Brave) of the Titanicus Legio Ignatum, (The FireWasps)
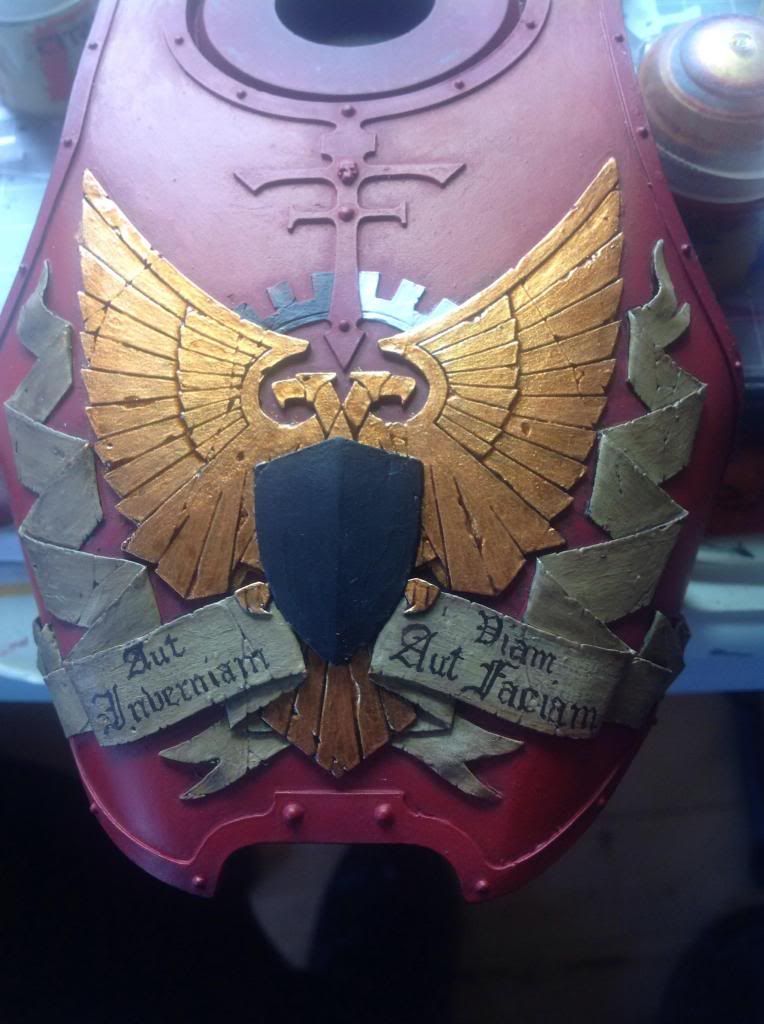
Inveniam Viam Aut Faciam
I would love to hear any feedback you have particularly as paint is starting to go down.
Thanks
AndyG