Skink:
So, a lot of people asked me how I make my bases. That’s why I decided to write this tutorial, enjoy!
In pic number (1) you can see the
tools I use to make my bases:
-The base (duh!) you need to decorate. In this case I’m using a 40x40 GW base.
-cutters.
-super glue.
-Sculpey (or any clay that bakes in the oven).
-a round object to flatten your clay (I used an empty jar of tomato sauce).
Start kneading a little bit of Sculpey. Be careful, the more you knead the more the clay gets soft so stop once you reach the ideal consistency. Using the jar like I do in pic (2) flatten your Sculpey ball to a thickness of, say, 6 millimetres. Repeat the process with another ball of Sculpey and this time make a less thicker sheet, about 3 or 4 millimetres. Forget about precision, is not that important, just get 2 sheets of different thickness.
Now use use your base like a stamp, and mark both sheets of Sculpey as shown in pic (3). This is especially useful when making bases for regiments, as it allows you to cut the right amount of Sculpey thus giving you the chance to utilize all the shavings. Nothing is going to get wasted in the oven!
Now is chopping time! Using your cutter follow the outline left by the base and cut your Sculpey like I’m doing in pic (4). Remember to do this operation with boot sheets!
Once you’re done it’s time to bake your bases in the oven. Follow the instructions written on the Sculpey’s box. I can give you a couple of tips:
A ) you can do this with a toaster. It has the advantage of not turning the house in a furnace, especially during summer. Open the windows though, the toaster gives the clay a certain fragrance.
B ) You can also use a small oven (the ones the size of a microwave), in which case turn down the temperature to 100° or your clay will burn filling your kitchen with a hideous smell.
Once your Sculpey tiles are out of the oven pick up the thickest one and using the other cutter start to scrap gently the edges, like I’m doing in pic (5). This will create a sort of rocky texture as shown in pic (6).

Once the texture is created glue the square to the base. Then glue the other tile (the thinner one) on top of it, as shown in pic (7).
Create the rocky texture on this new layer
of Sculpey the same way you did with the previous one. Check out pic (8) to know what I’m talking about. We are almost there!
Now It’s decoration time! In pic (9) you can see what I added to the base:
a couple of skulls, gravel, a rock in the corner, a Chaos Space Marine Gargoyle head. Note that on the right I hadn’t glued anything because I wanted to paint a lava effect.
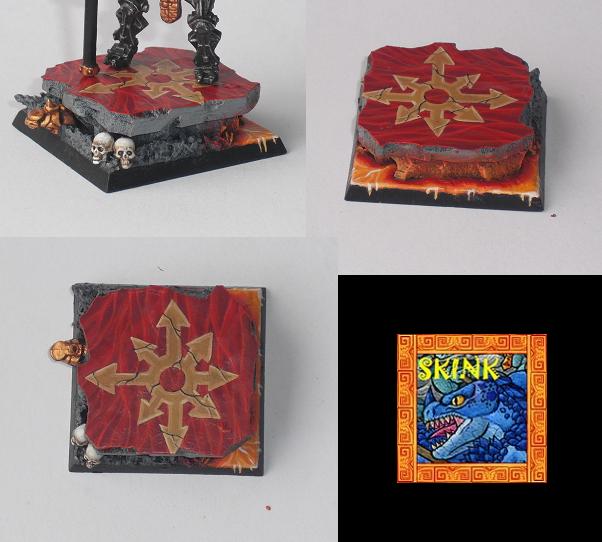
This is the final result:
[[URL=http://s688.photobucket.com/user/scinco01/media/Chaos%20Dwarfs/Tutorial10_zps7126553a.png.html]