Kera foehunter:
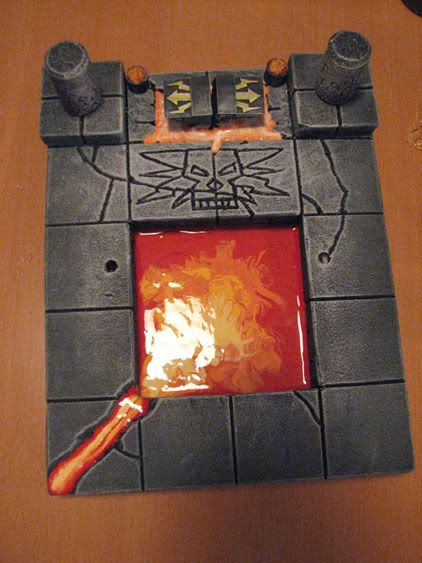
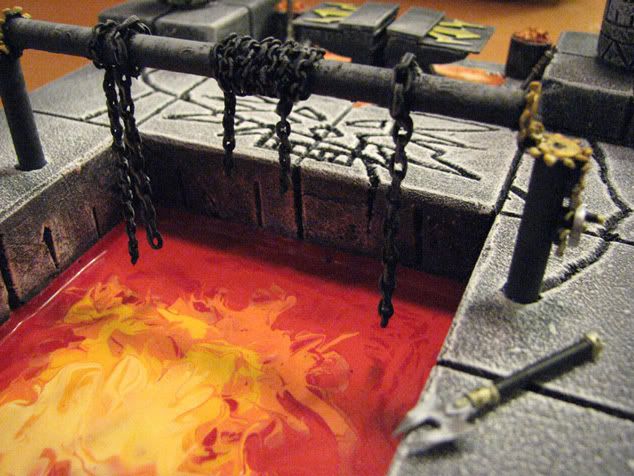
love the lava affect but the red only look likea blood river too
Kera foehunter:
love the lava affect but the red only look likea blood river too
Nicodemus:
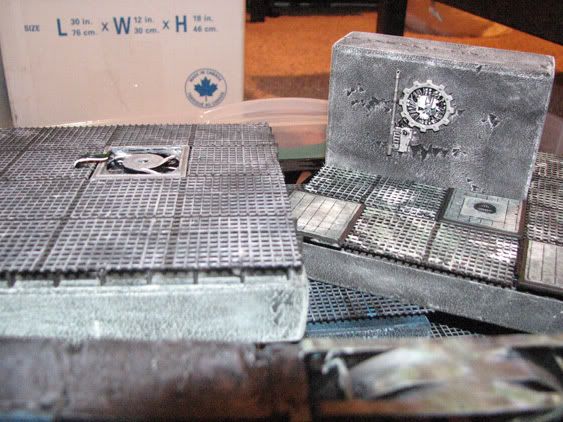
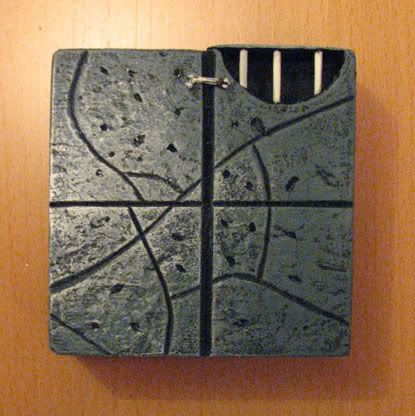
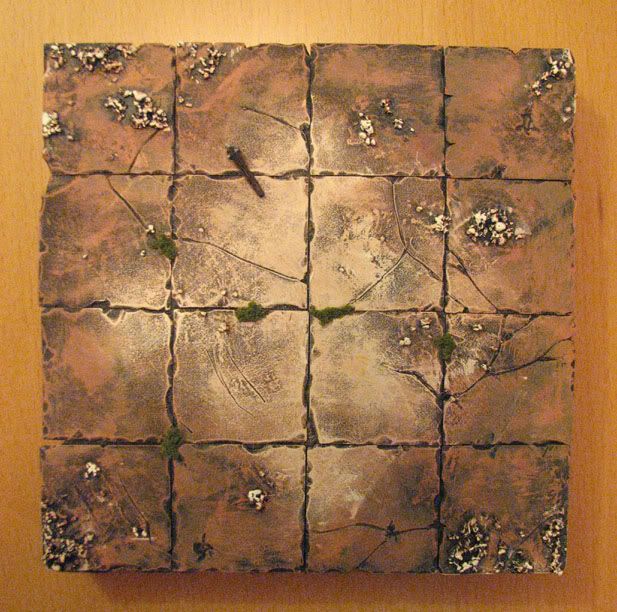
Pits and Traps tiles…
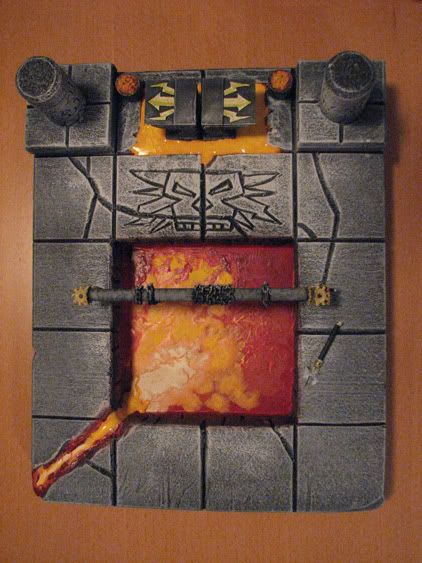
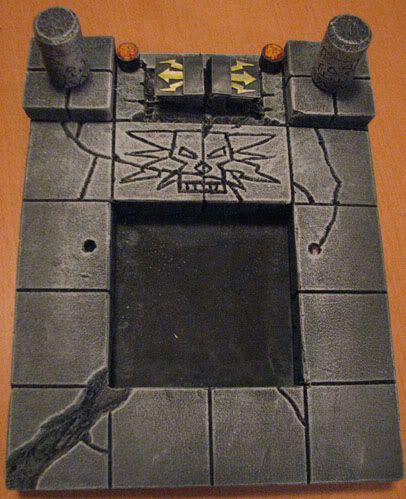
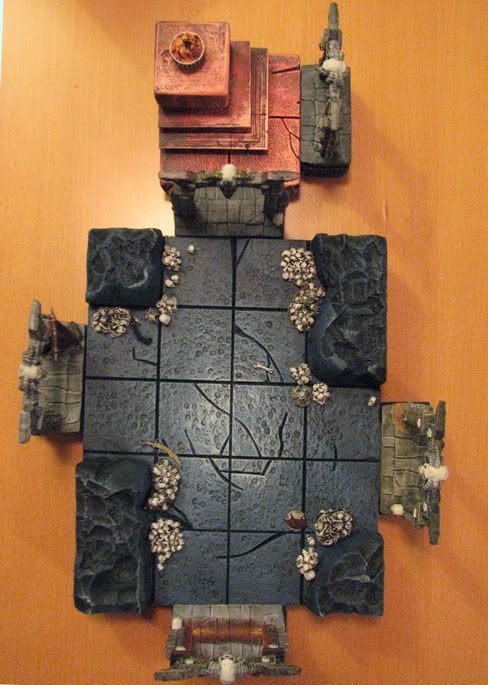
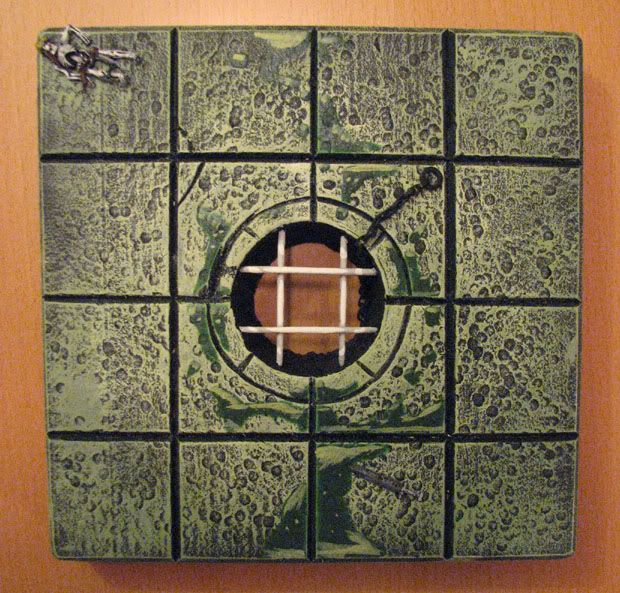
Painted Crossroads of Doom. Still have to finish adding chains, slime to one corner, moss, etc.
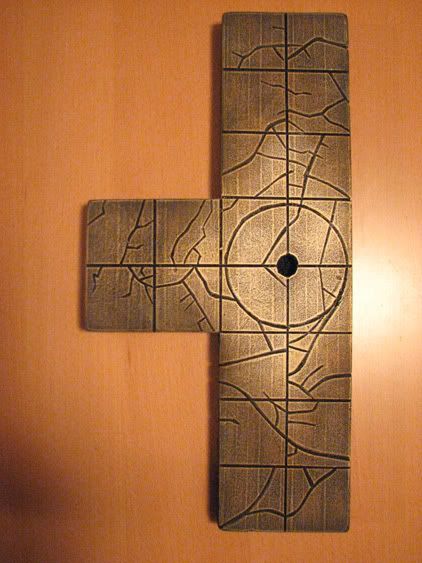
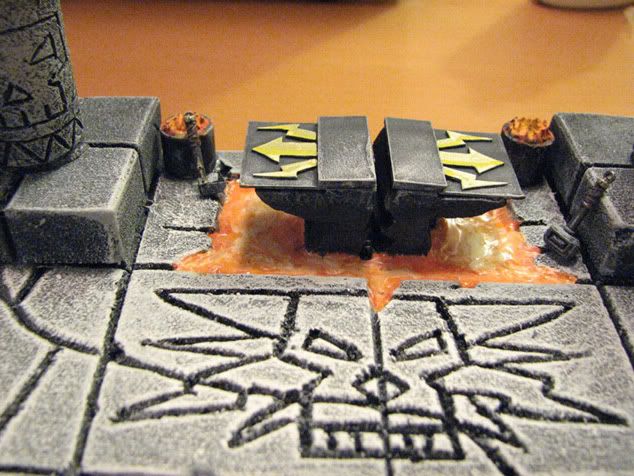
With the rotating platform section

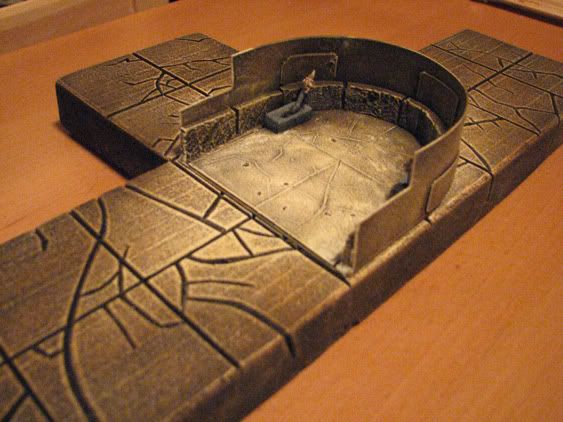
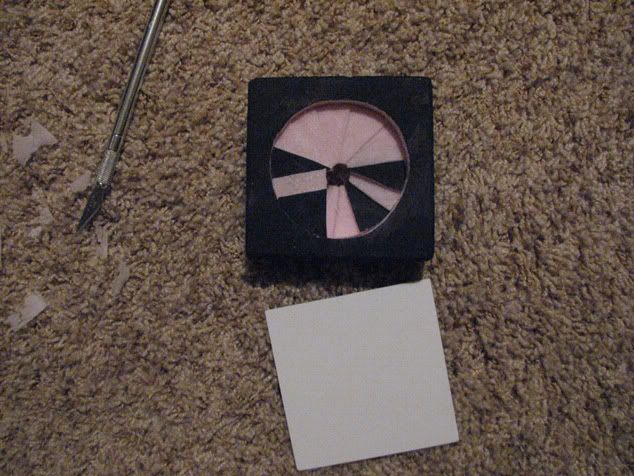
Closeup of the rotating platform. Still have to finish painting the levers inside.
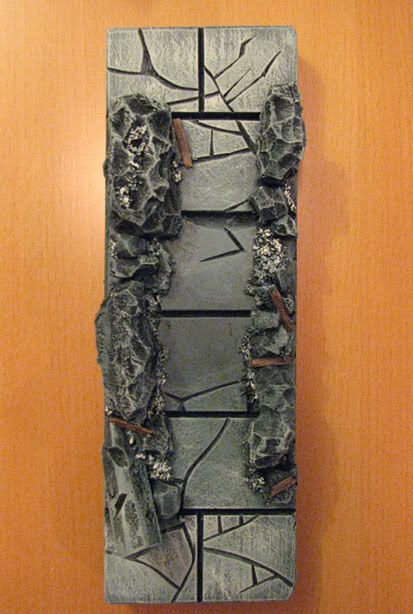
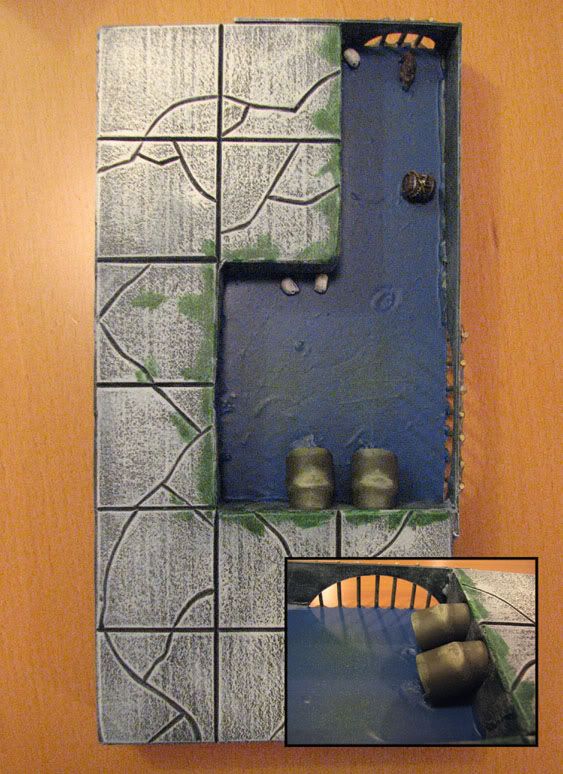
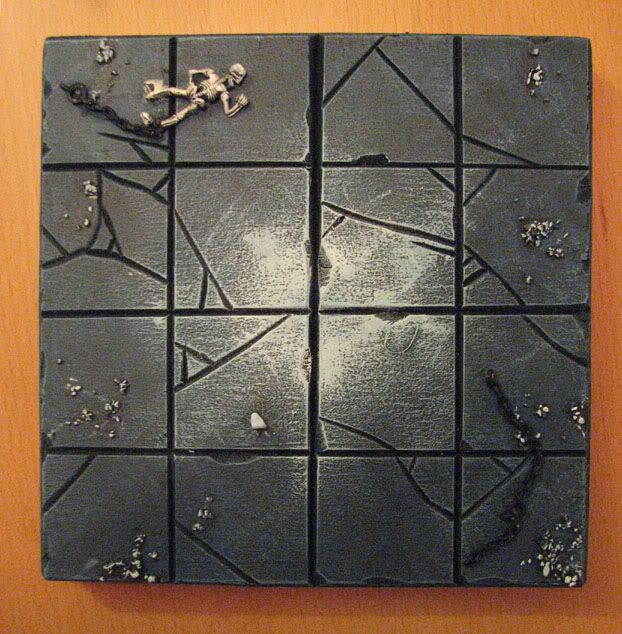
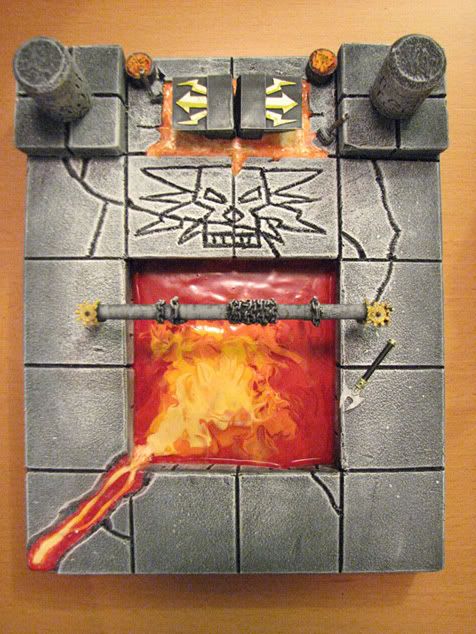
Painted Bridge of Despair (minus the bridge)
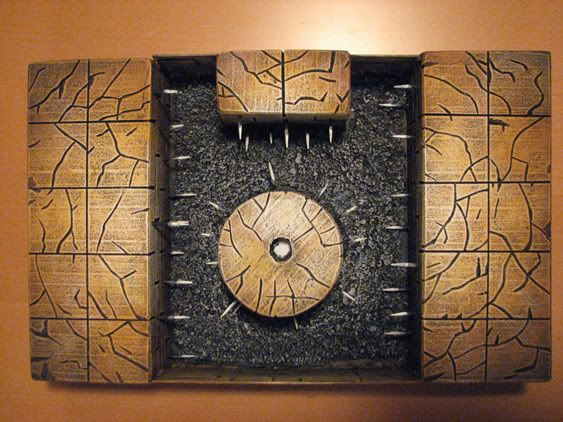
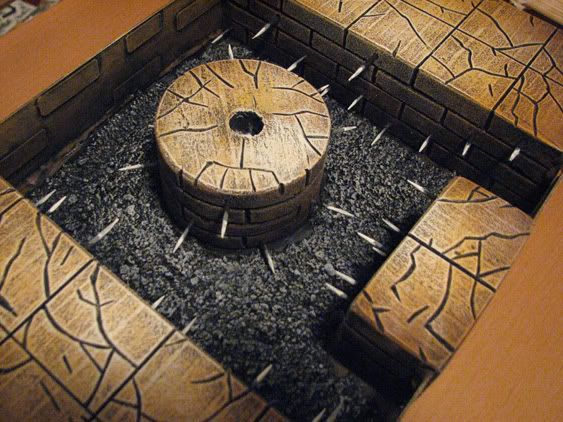
With the rotating bridge section.
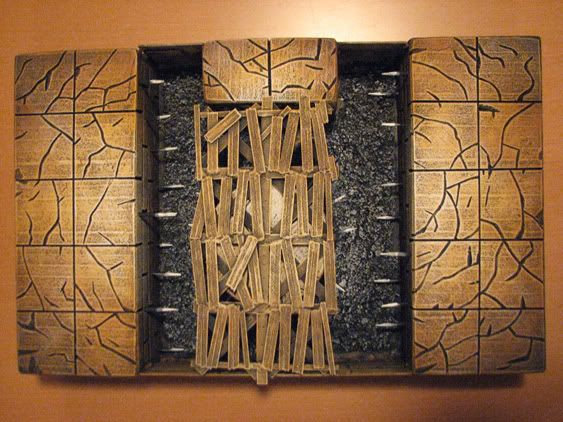

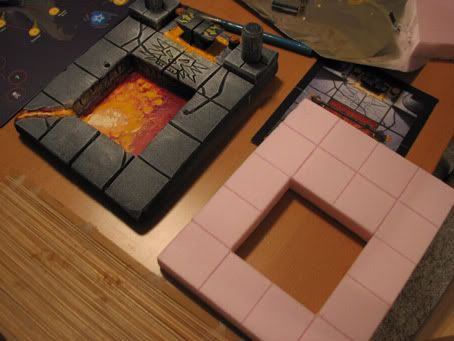
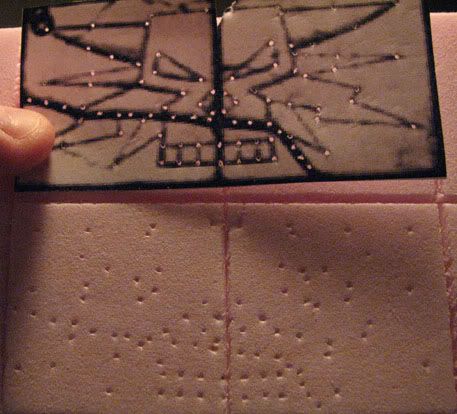
I’m not so happy about the lines that show up on these tiles. Unfortunately on these ones the foam that I bought has these lines in it. It’s a very subtle indentation, and it wasn’t noticeable until I started painting them. I’ve done a lot of stippling between the lines with lighter colours to make them less noticeable… and for sure the photos taken really make them stand out more than they do IRL. Not sure if there’s some kind of edge-detection or post processing the camera is doing with the images… but it really makes them stand out. The bottom of the foam has worse lines. That’s something from the manufacturer this time or something that happened during shipping I’d guess. It’s a real pain in the @$$ in any case.
More to come on the Furnace of Hashut later…
~N
wallacer:
I wouldn’t worry too much, they look fantastic.
grupax:
must have missed this; this is truly an astonishing project,
really sweet stuff and original, it give the game a whole new dimension
original and refreshing.
keep up the good works,
best regards,
GruPax
Nicodemus:
Brief update.
Rotating room section for the Crossroads of Doom is done
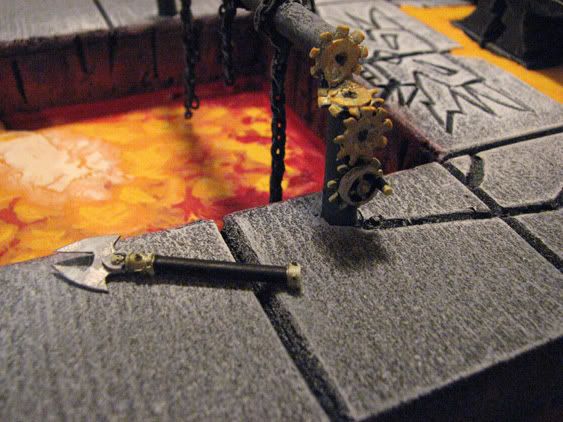
Furnace of Hashut (nearing completion)
Finished off the Anvil of Doom as well as the tongs for grabbing things from the forge… although they look more like an implement of torture used by some nasty Gaoler (on the floor, middle left).
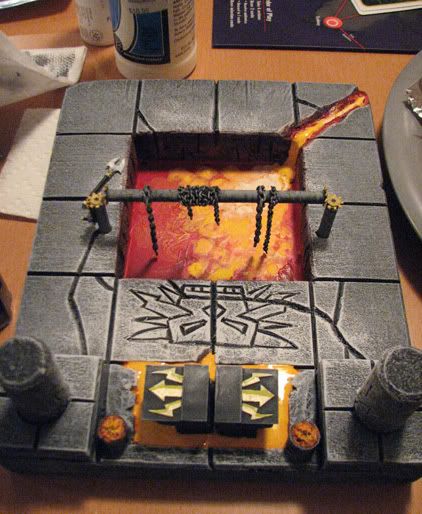
Just need to finish the leather straps on the handles of the other implements that sit by the anvil and I’m done (for now, I think).
~N
wallacer:
Another great update.
Maybe the lava could look a bit “glowier” though? Not really sure how to achieve that… Perhaps put a layer of artificial water over the top of it?
clam:
I really don’t know what to say anymore :hat off :hat off
I’m stunned by your talent, your ardour and your pace.
So what’s next ? anything you haven’t done so far?
Nicodemus:
I really don't know what to say anymore :hat off :hat offThe only tile left I haven't done is the "Into the Dark" spiral staircase from White Dwarf 192. I believe it's just referred to as "Into the Dark".
I'm stunned by your talent, your ardour and your pace.
So what's next ? anything you haven't done so far?
clam


Maybe the lava could look a bit "glowier" though? Not really sure how to achieve that... Perhaps put a layer of artificial water over the top of it?I agree, it does need to be glowier. Someone on another forum suggested something that would entail a whole re-make of the tile, which I may do at some point as the foam work was kind of rushed and the carved face in the floor wasn't done with care (it's a little disproportionate to the original).... he suggested having something partially see-through with red LEDs underneath. I think it's a stellar idea, and I could reasonably do it with the kind of resin that's usually used for modeling water in things like model train terrain. I think having a thin & transparent layer of resin on the surface that's thinly painted underneath with white, then yellow, then orange and then red, and lit with multiple diffuse-light red and white LEDs it could look amazing. Diffuse LEDs, as opposed to focused ones like in LED flashlights, can be bought for pennies a-piece.
wallacer
Nicodemus:
Well… Who’s up for starting over?!? 
slev:
Glowier: A coat of (I kid yee not) yacht varnish. It also makes water/slime look wet.
You can mix in a little ink/wash to add colour effects too.
wallacer:
he suggested having something partially see-through with red LEDs underneath.Would look amazing, for sure. I doubt if I could pull it off but I have no doubt you could.
NIcodemus
Kera foehunter:
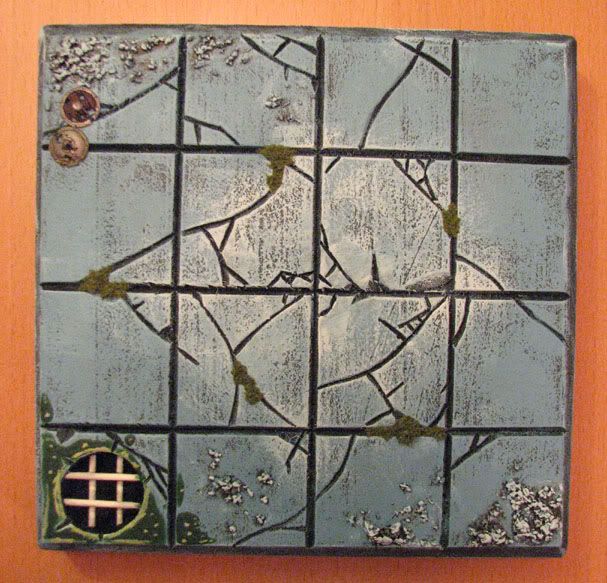
I like the metal grates
Nicodemus:
I'm just not sure I have the patience ;) I tried working with E-Z Water, which comes as beats of resin that you heat up and pour, but damn if it's not a pain in the @$$ to work with, I have no idea what the problem is but it re-solidifies way too fast to be useful it seems, and I've had to heat it up well past where the instructions say (between 71-82 deg. C) to get it to even melt. 30 minutes at ~100C and it still was only starting to get sticky but not melt... something is definately amiss! Most of it solidified on contact so that each clear glob had a very well defined boundary between the other globs, none of it was smooth and it just looked like crap. The rest solidified mid-pour. And the heat gun to smooth it out anywhere near the foam is just a bad idea anyway.he suggested having something partially see-through with red LEDs underneath.Would look amazing, for sure. I doubt if I could pull it off but I have no doubt you could.
NIcodemus
wallacer
Nicodemus:
Finally re-took some slightly better photos of some of the board sections.
Lair of the Orc Lord - Shaman’s Den

Lair of the Orc Lord - Collapsed Passage
Lair of the Orc Lord - Gorgut’s Lair
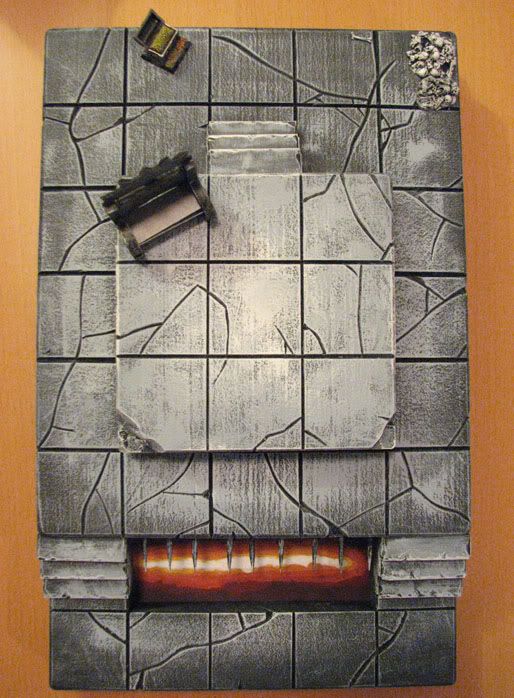
White Dwarf #192 - Dead End (with removable rubble)

White Dwarf #185 - The Gaol
White Dwarf #204 - Sewer (showing again, better pic)
Catacombs of Terror - Flames of Khazla (2x2) and Hall of Death (4x5)
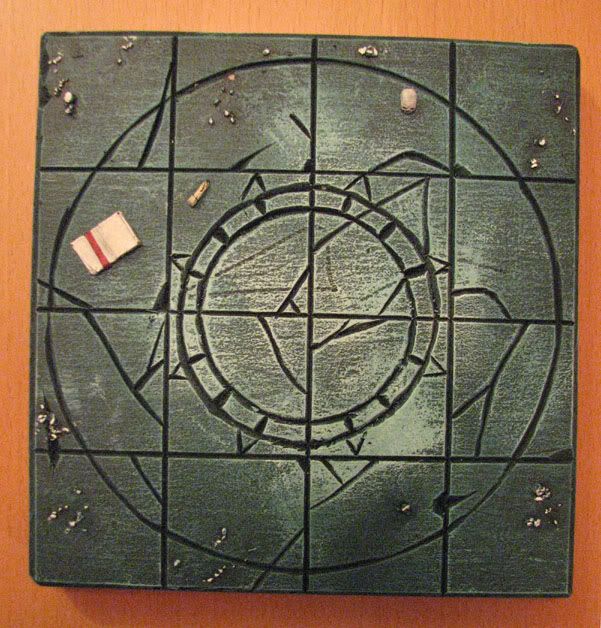
WHQ Core Game - Circle of Power
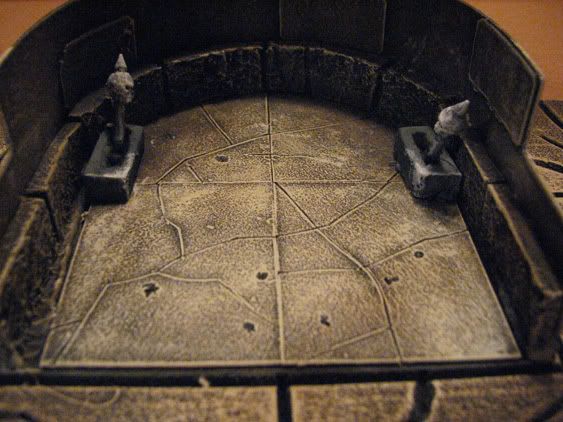
WHQ Core Game - Well of Doom
WHQ Core Game - Dungeon Cell
WHQ Core Game - Torture Chamber
WHQ Core Game - Monsters’ Lair
(edit: missed one WHQ Core Game - Guard Room

~N
Border Reiver:
You know that guys like you with your excellently done terrain pieces really get my goat. They look fantastic, and they are likely going to wear like steel.
Then I try to make something simple, and ten minutes into the first game the flock starts coming off.
Keep up the excellent work - I need the inspiration.
Kera foehunter:
yea !! i just keep watching like a moth to a flame
Nicodemus:
Furnace of Hashut (take two is finished)
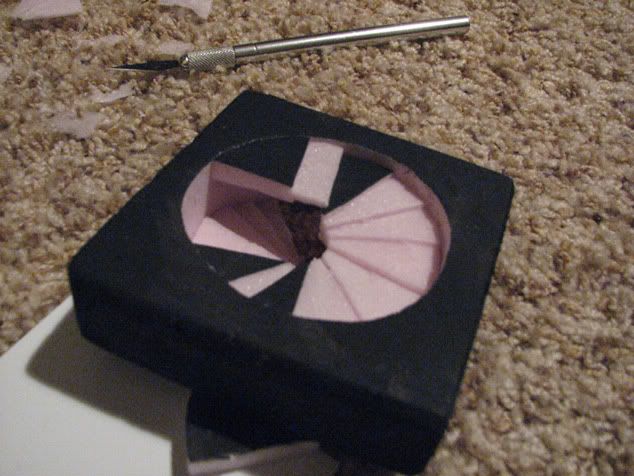
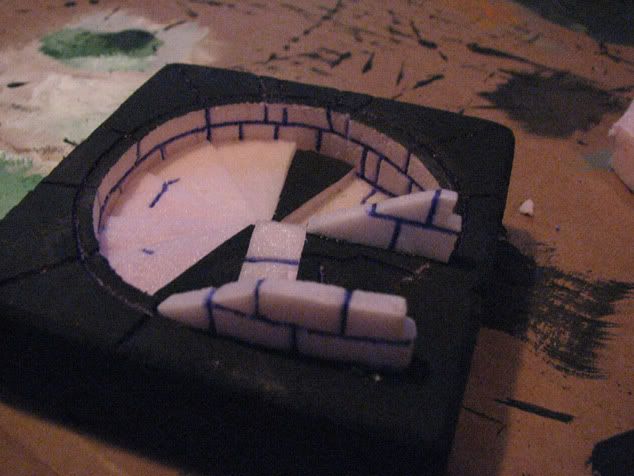
Into the Dark (final official WHQ tile to finish the full set)
I switched the direction of the faces around on the banister so they no longer look like the banister is coming out of their mouths. It’s a lot less work as I’d need to sculpt horns on the back of each head, separate the lower jaw and extend it to the floor as it looks like the original art is suggesting that… so like I say, too much work for what I’m prepared to do at the moment.

~N
slev:
Awesome!
This message was automatically appended because it was too short.
cornixt:
Awesome is an understatement!
Nicodemus:
White Dwarf #192 - Into the Dark
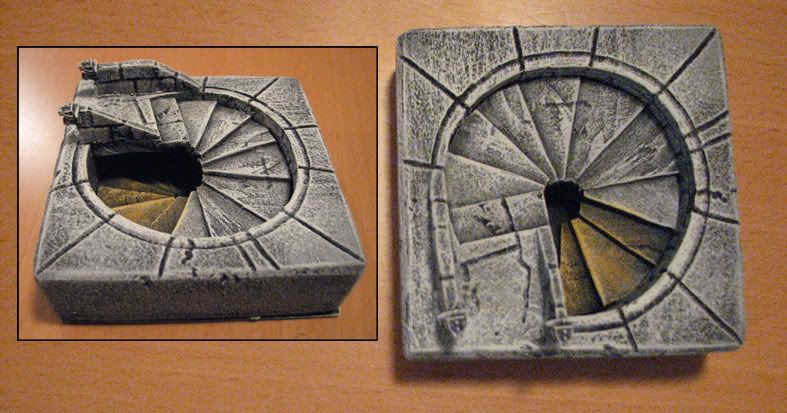

And I cheated a little this time and broke my own rules about not using acrylic on small detail pieces. The heads on the banisters were dry brushed right along with the rock. I still stand by my statement though, that in general acrylics aren’t great to be using on miniatures, unless they’re large things like terrain-sized pieces. Keep in mind too that you don’t get as smooth a texture using acrylics either unless you use good paints and have some technique (neither of which I have).
That was the last of the Warhammer Quest tiles to make, and just in time as I’m back to work full time on Aug 31st.
So with that… I declare I’m done. Is it time for some *&%$ gaming yet?
~N